MiniVerb v1.x
Introduction
Electrosmith just sent me some of their stuff to try out. This includes a couple of Daisy Seeds – which is their basic barebones DSP platform.
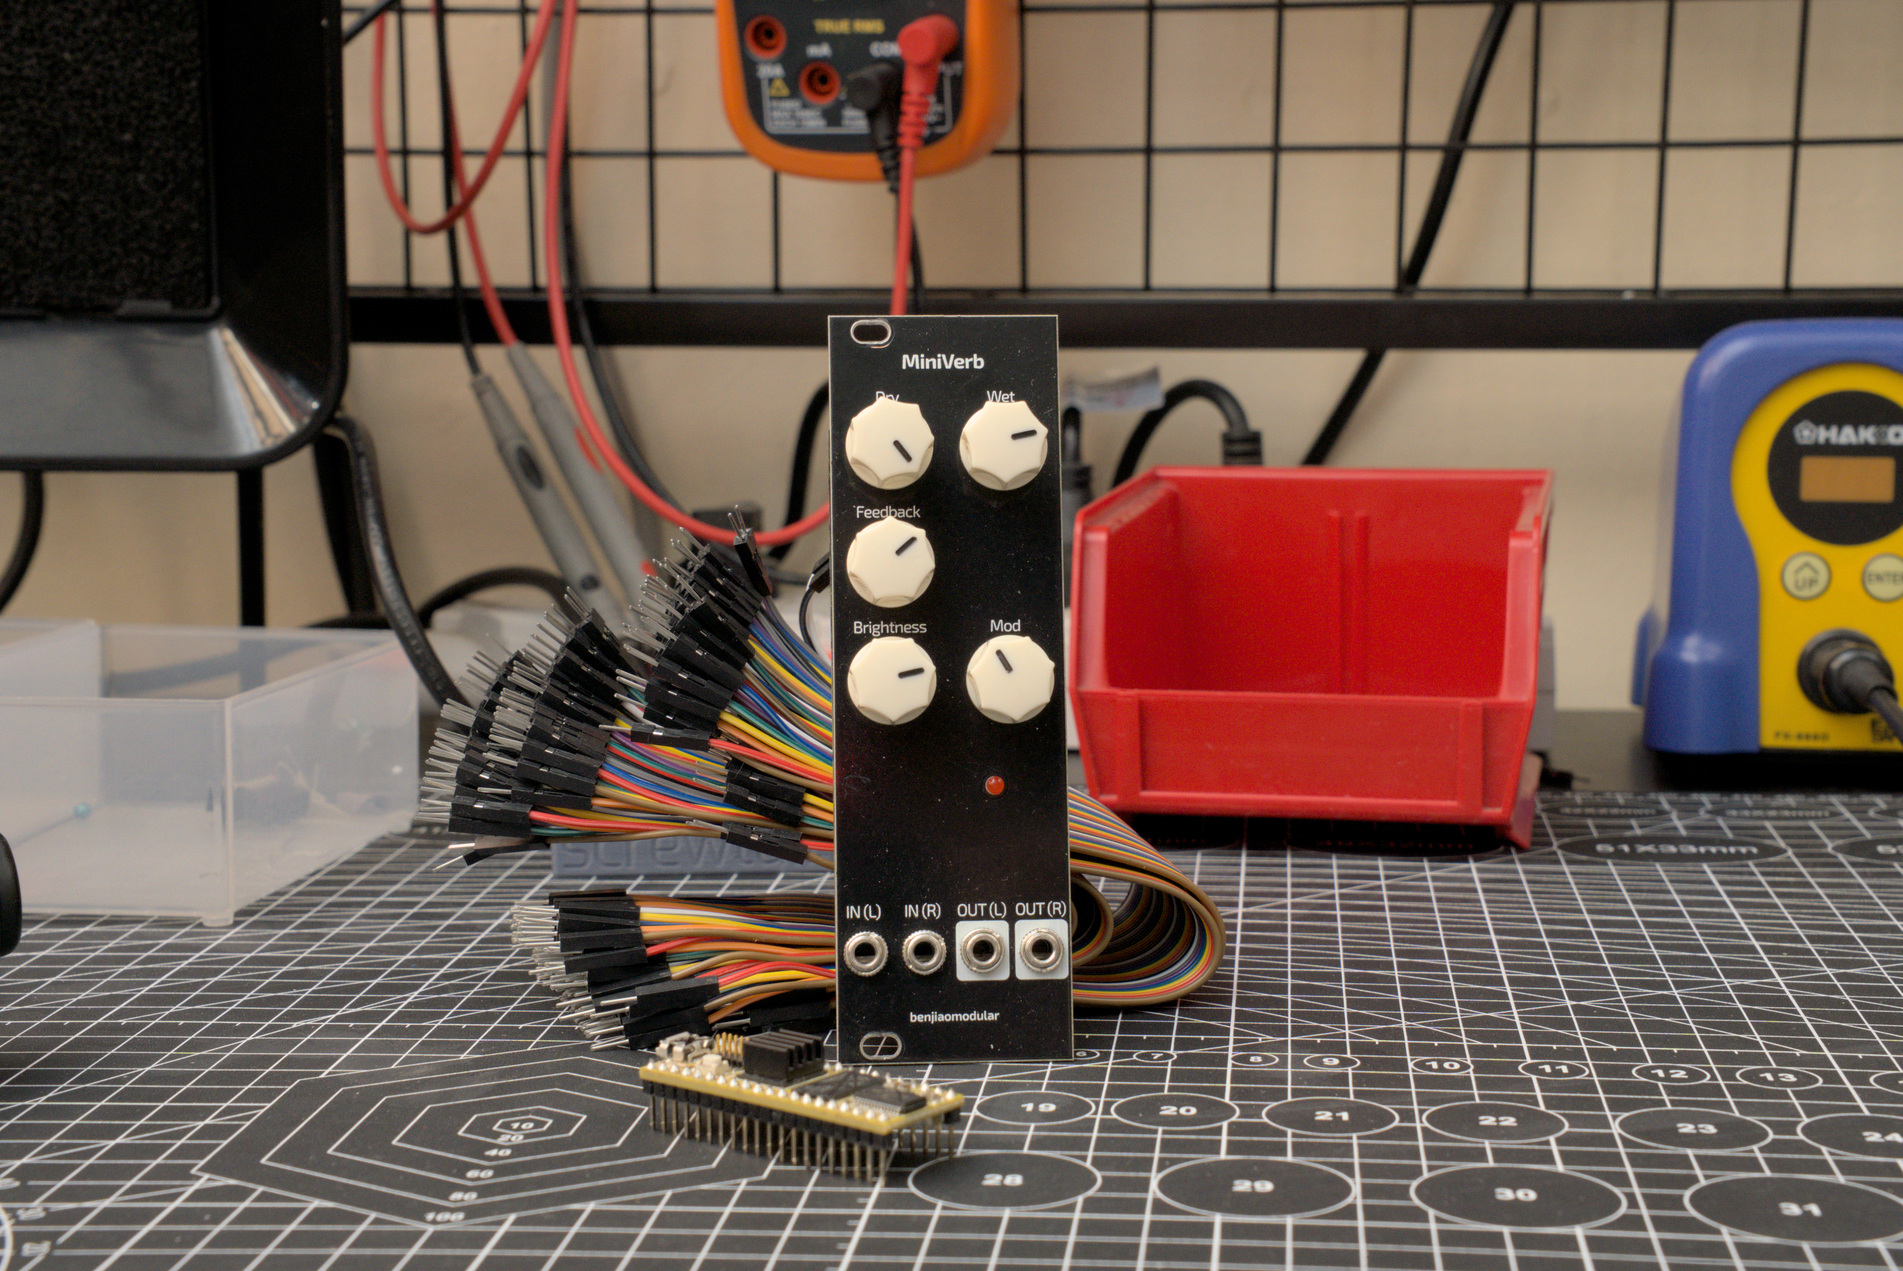
The Daisy can produce decent sounds out of the box, but it does need some circuitry around it in order to work well with my other synth modules. This build was pretty much just me learning how to work with Daisy. Thus, the stripped down features.
This design is all through-hole.

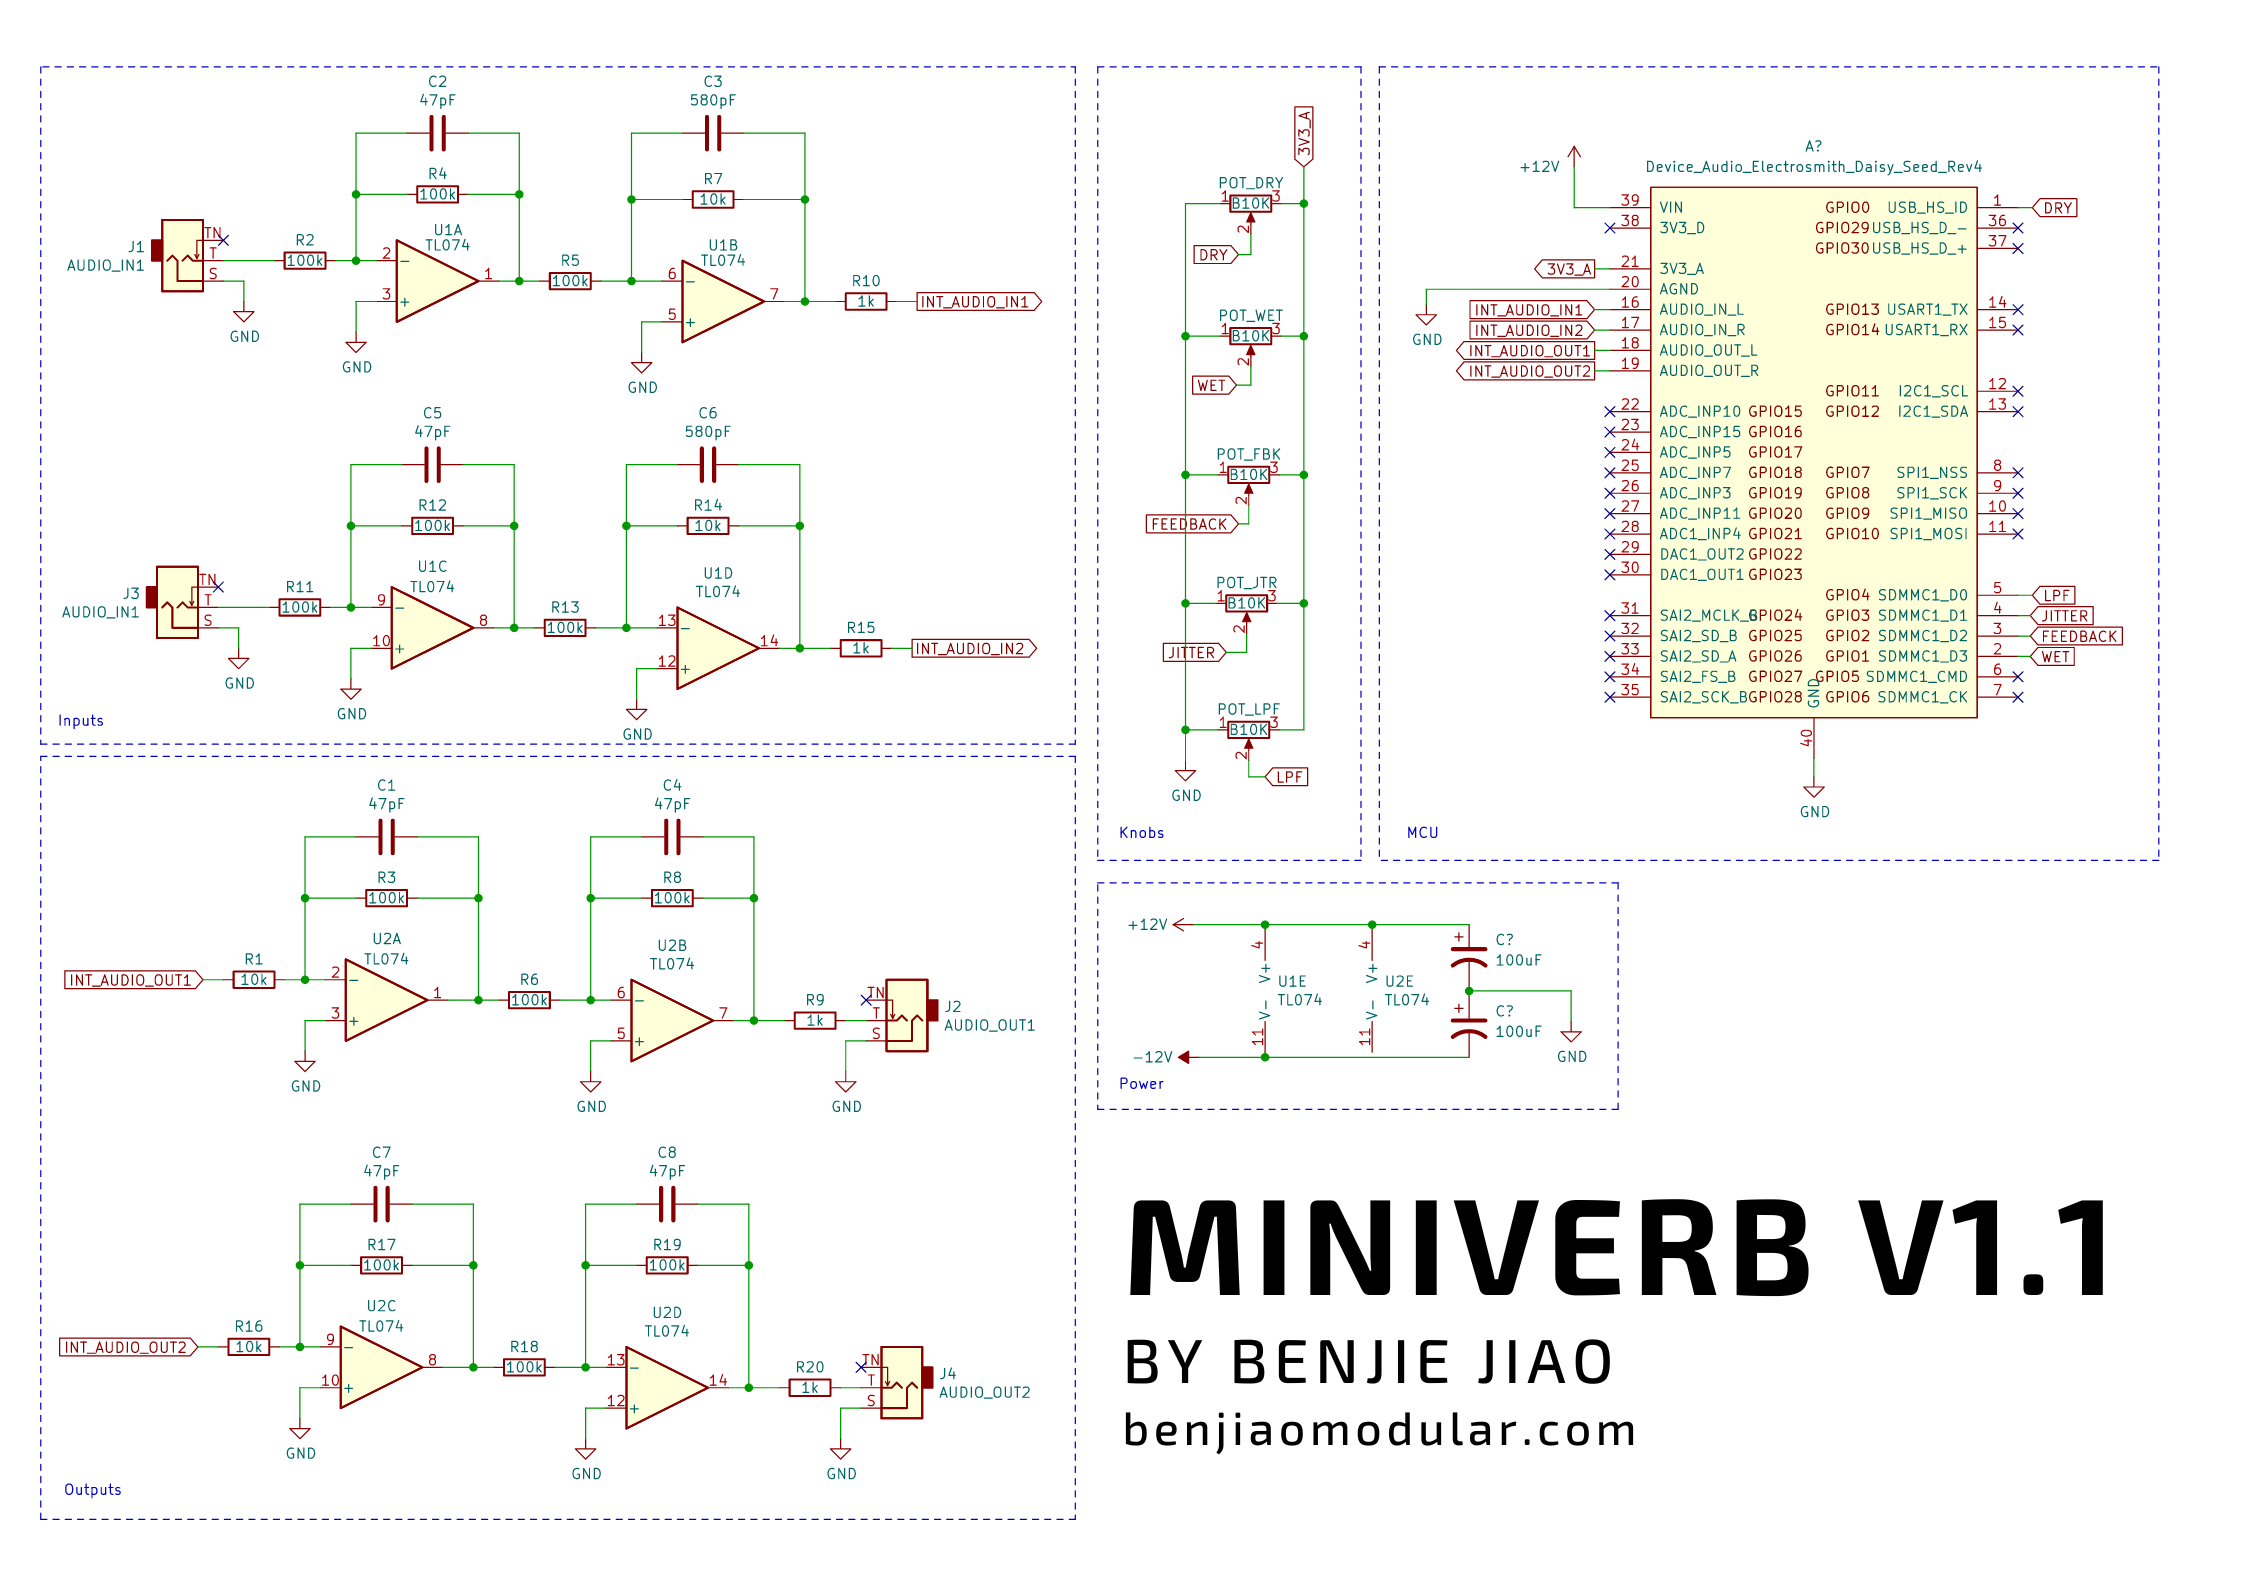
Schematics
I based this design on the Daisy Patch schematics.
The input and output sections are neccessary to match the audio levels of Eurorack modular synths which are typically 10Vpp. Most Daisy Seed GPIO pins can only take 3.3V.
PCB
My PCBs in this series were sponsored by PCBWay – a great option for prototyping. Use their Quick-order PCB tool to get an instant quotation on the files.
PCB shops use Gerber files for etching copper traces, printing labels, drilling holes, and other manufacturing steps. You can download my zipped Gerber files for a version you like and upload those into their website.
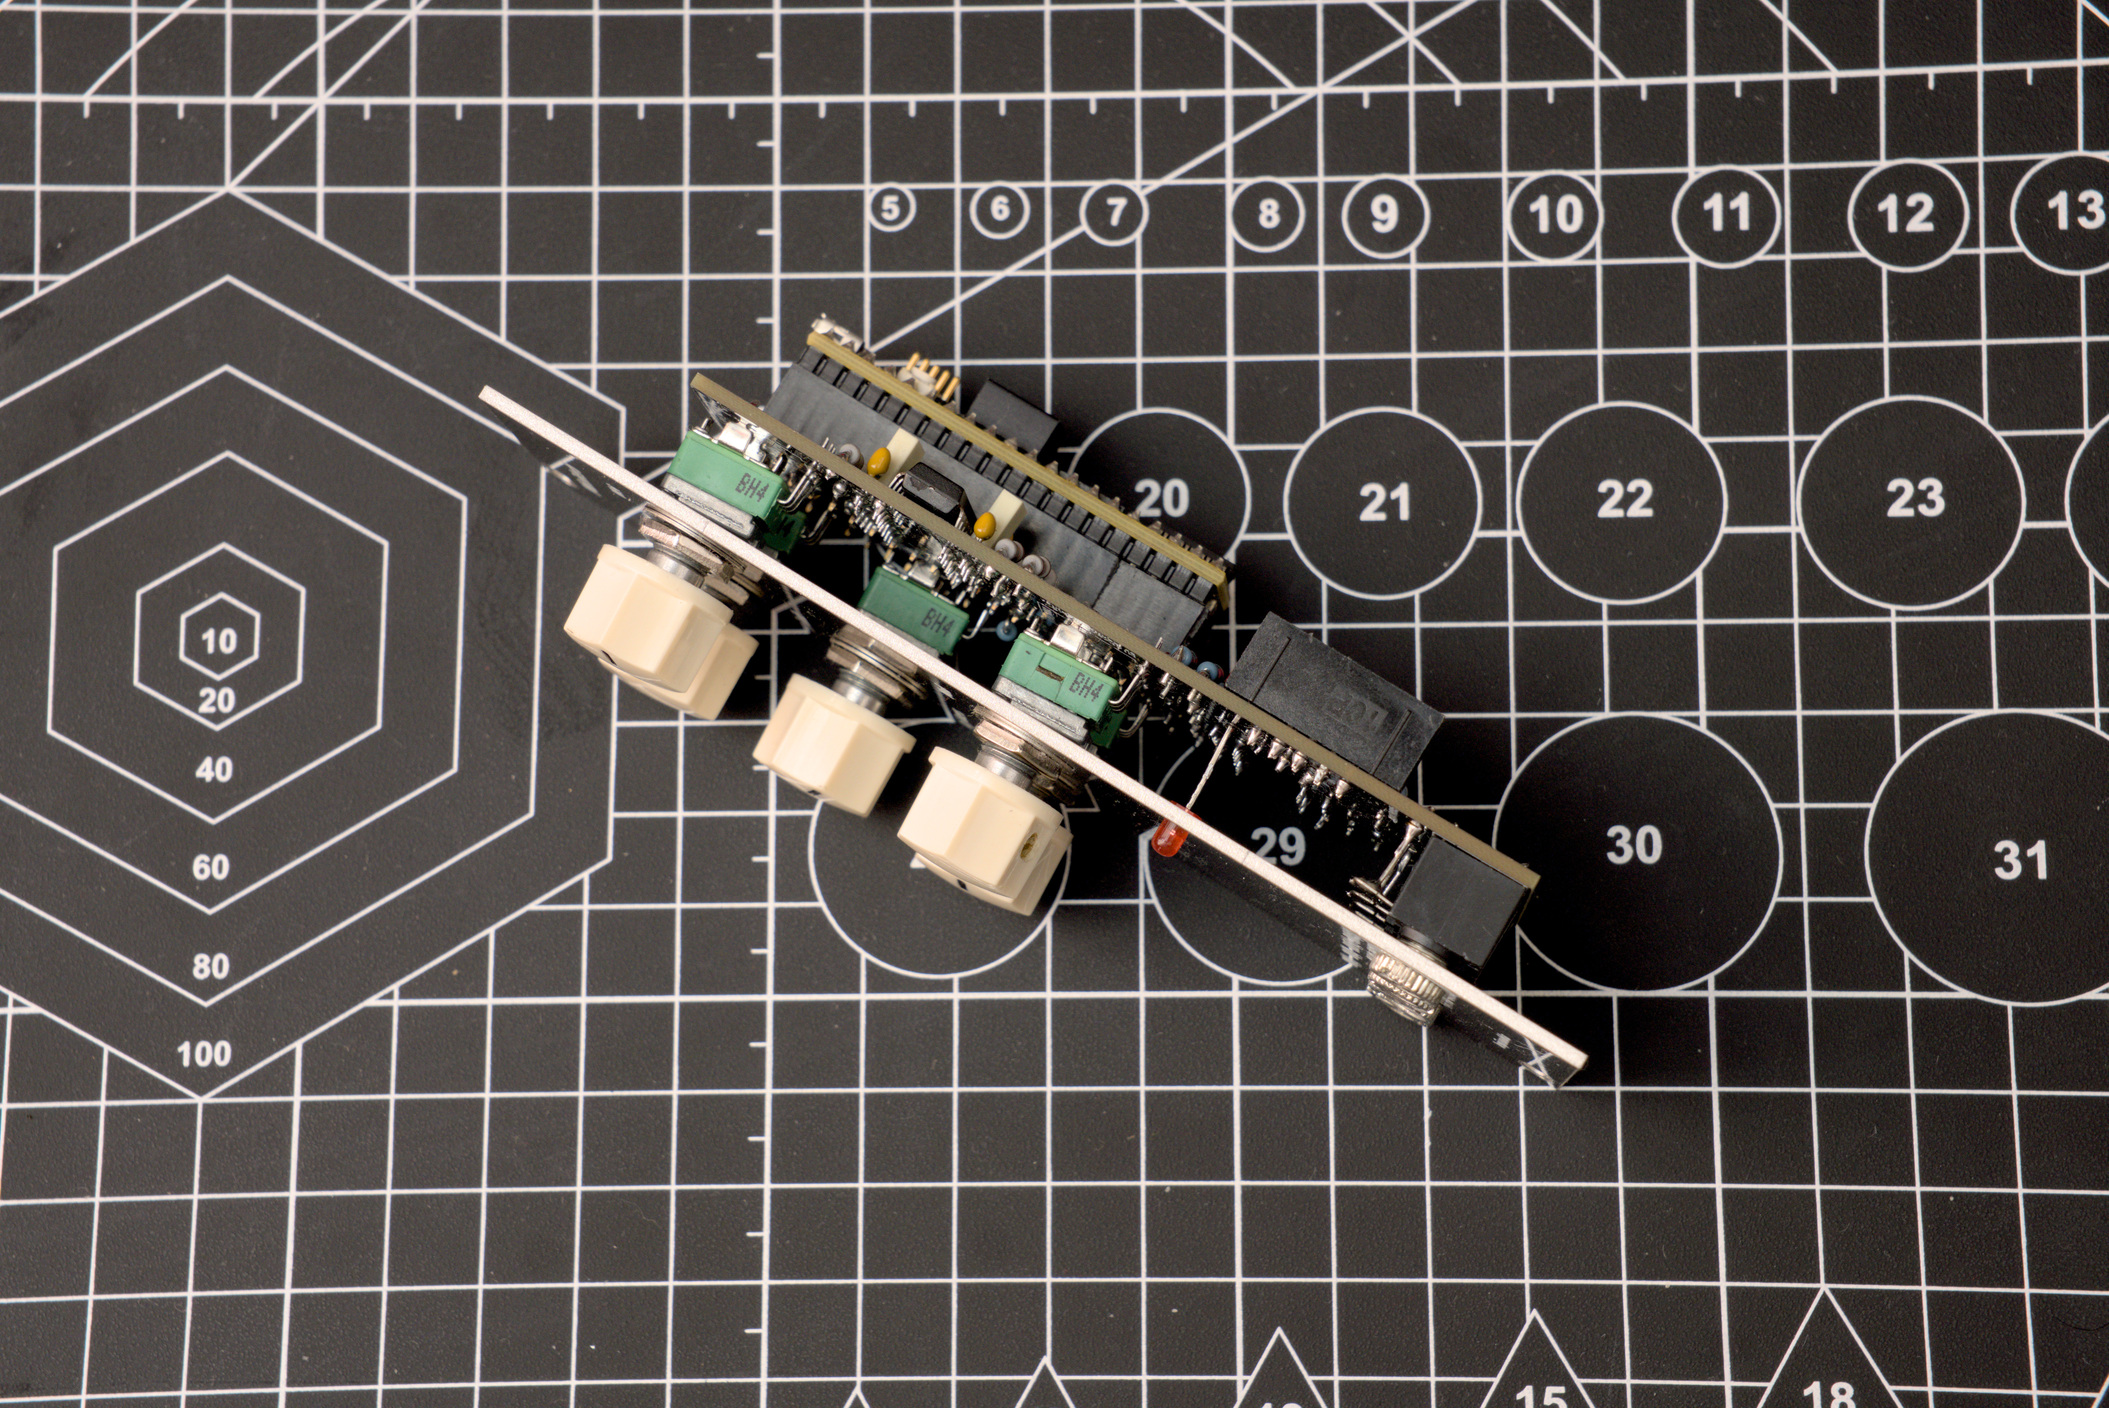
This build comes in two boards. You can order those separately and with different materials. For my build, I used aluminum for the front panel and FR4 for the main board.
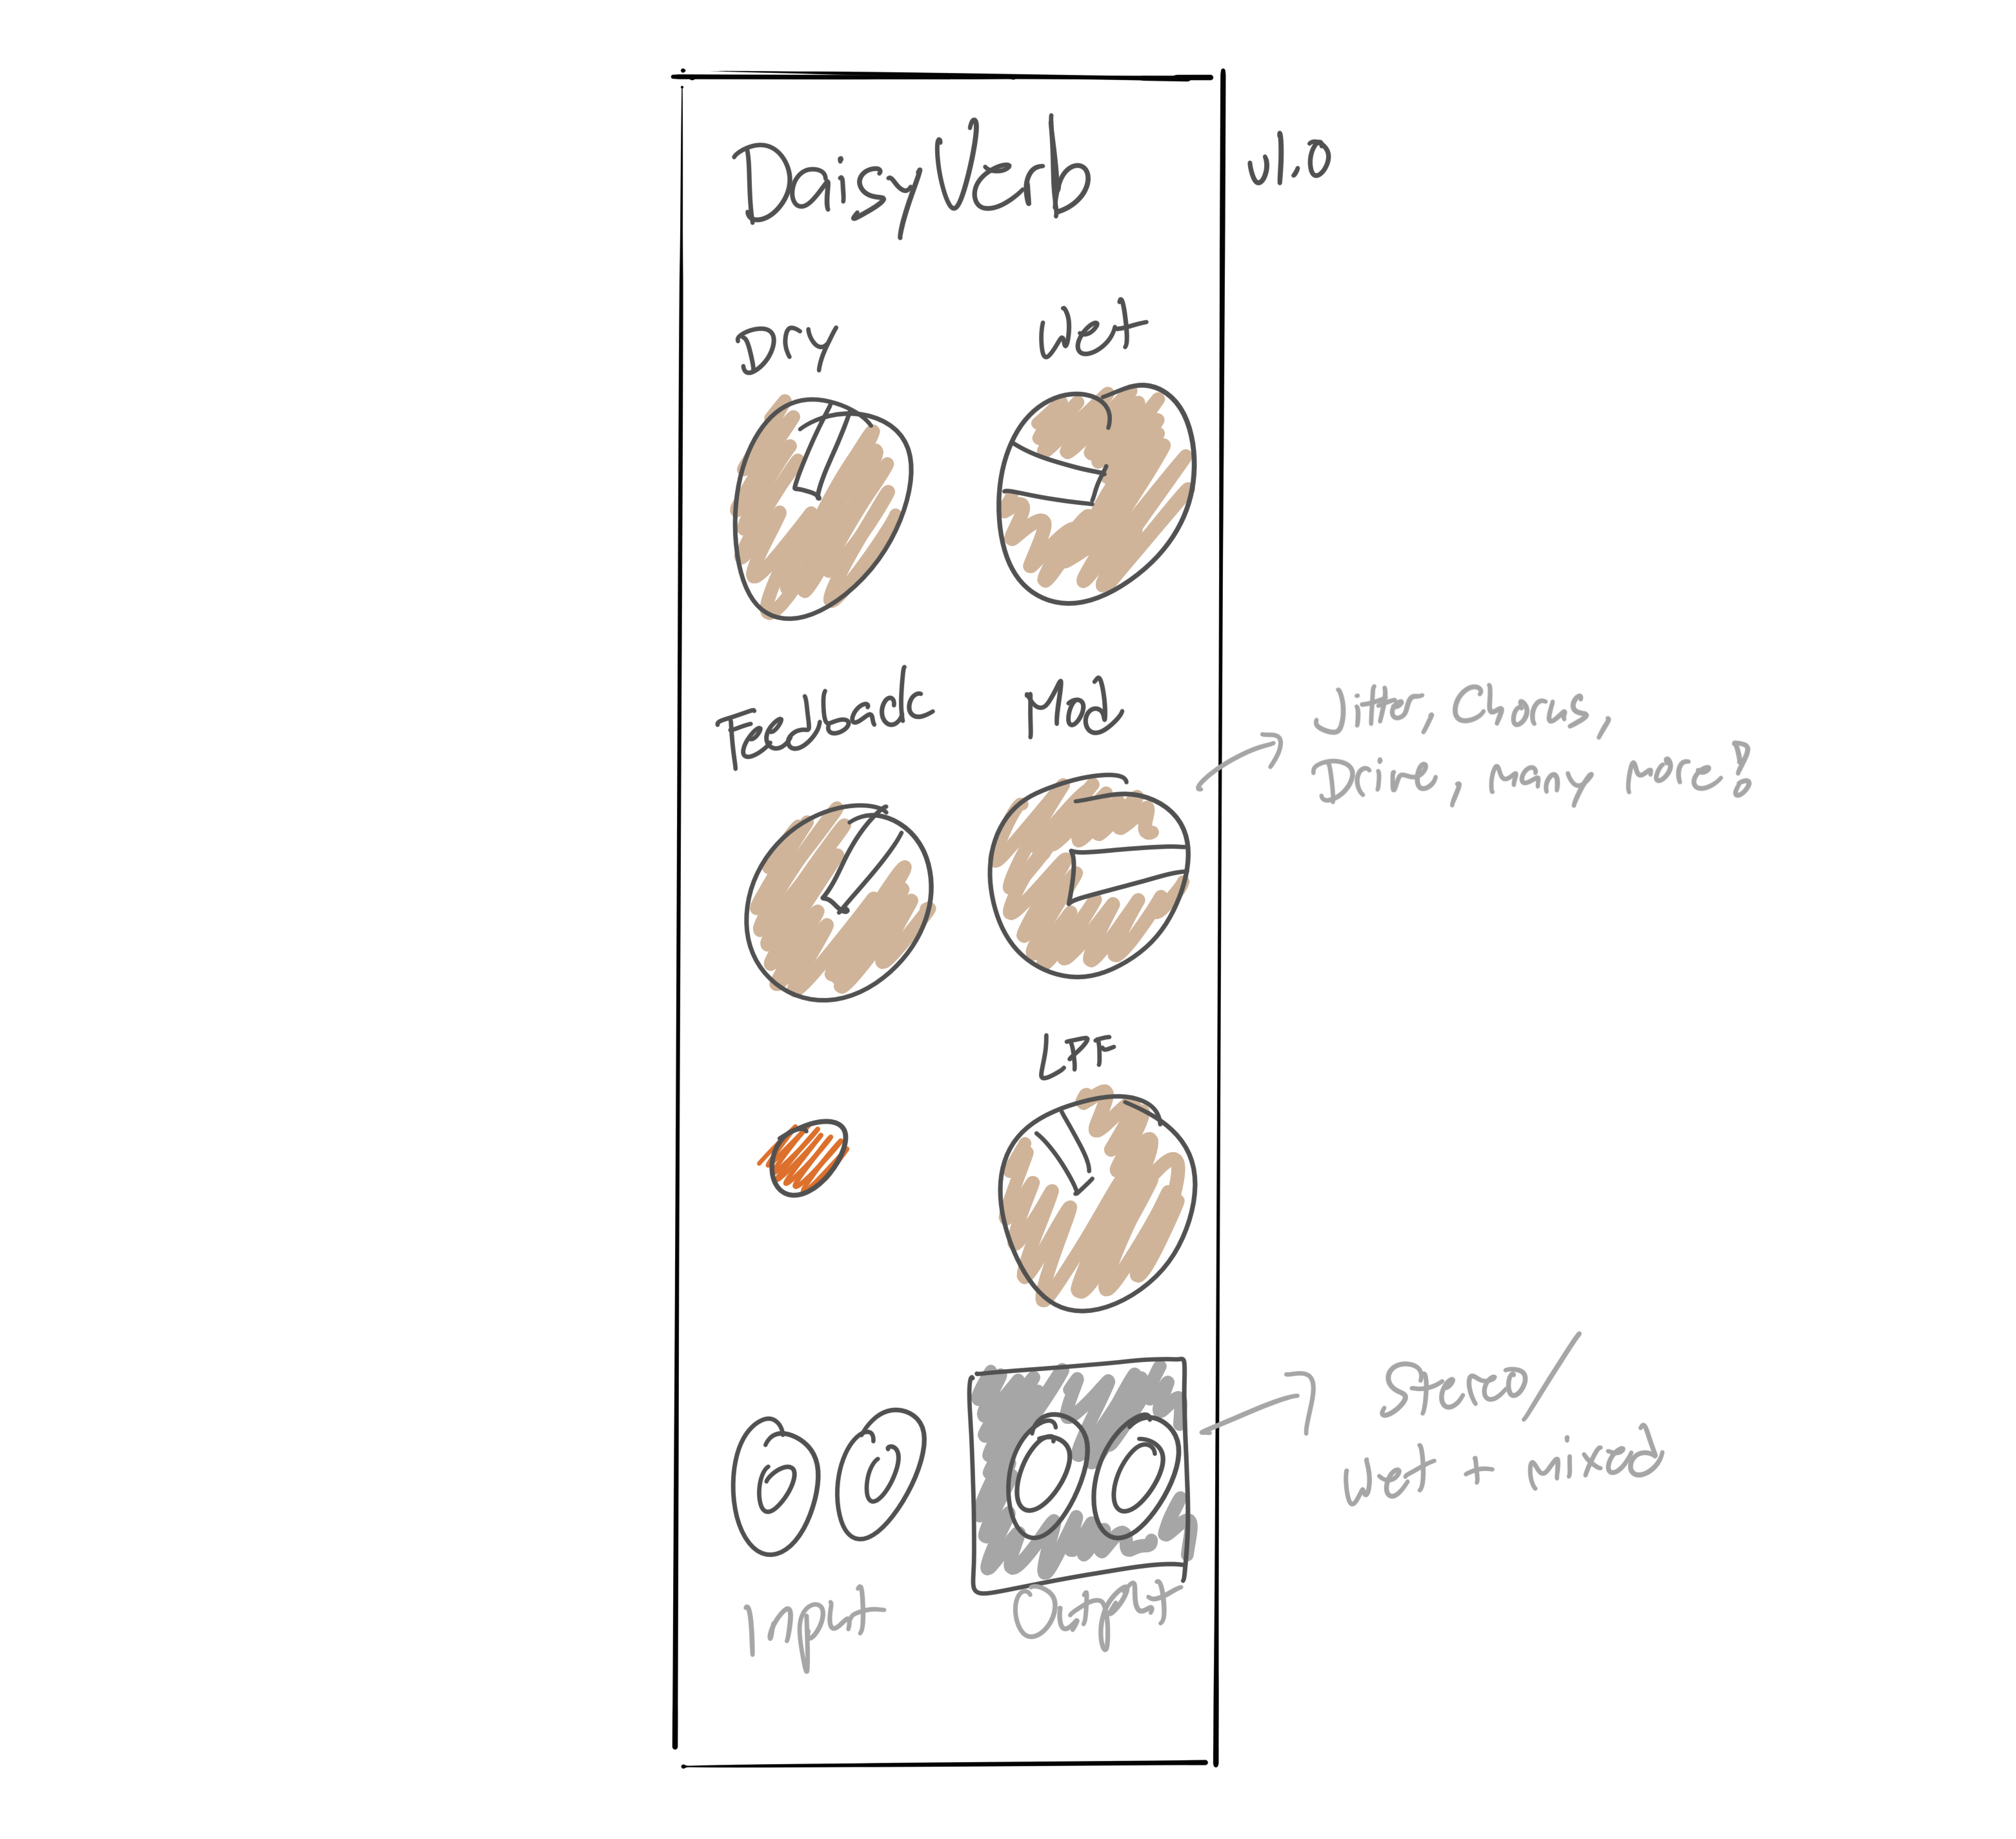
Versions
1.0. Initial version
This was the first release of the MiniVerb. This ones unusable without slicing some traces and adding new ones using wire. I don NOT recommend printing this.
I have mistakenly mapped the pots to the wrong pins on the Daisy.
1.1. First working version
I fixed the errors from my first design.
I also made IN(R) use IN(L) when no jack is inserted.
| Title | Filename |
|---|---|
| Schematics | MiniVerb v1.1 - Schematic.png |
| Gerber Files | MiniVerb v1.1 - Main.zip |
| MiniVerb v1.1 - Front.zip | |
| MiniVerb v1.1 - BOM.csv |
Code
This module was programmed using DaisyDuino. You can find my code on Github.
Conclusion
Overall I’m pretty happy with how this sounds. I use it all the time.
I wasn’t able to fit CV inputs in this through-hole version and I didn’t want to make it any wider. An SMT version of this is coming up with a smaller footprint and CV inputs so stay tuned!
Let me know if you’ve built it. Tag me on Instagram @benjiaomodular. I also have a couple of demos there!