Kwantizer
Lately, my setup hasn’t trully been all-DIY *gasp*. I’ve been dependent on my Korg SQ-1 and Beatsteap Pro for sequencing. They let me pick a key and the notes just magically fall into place.
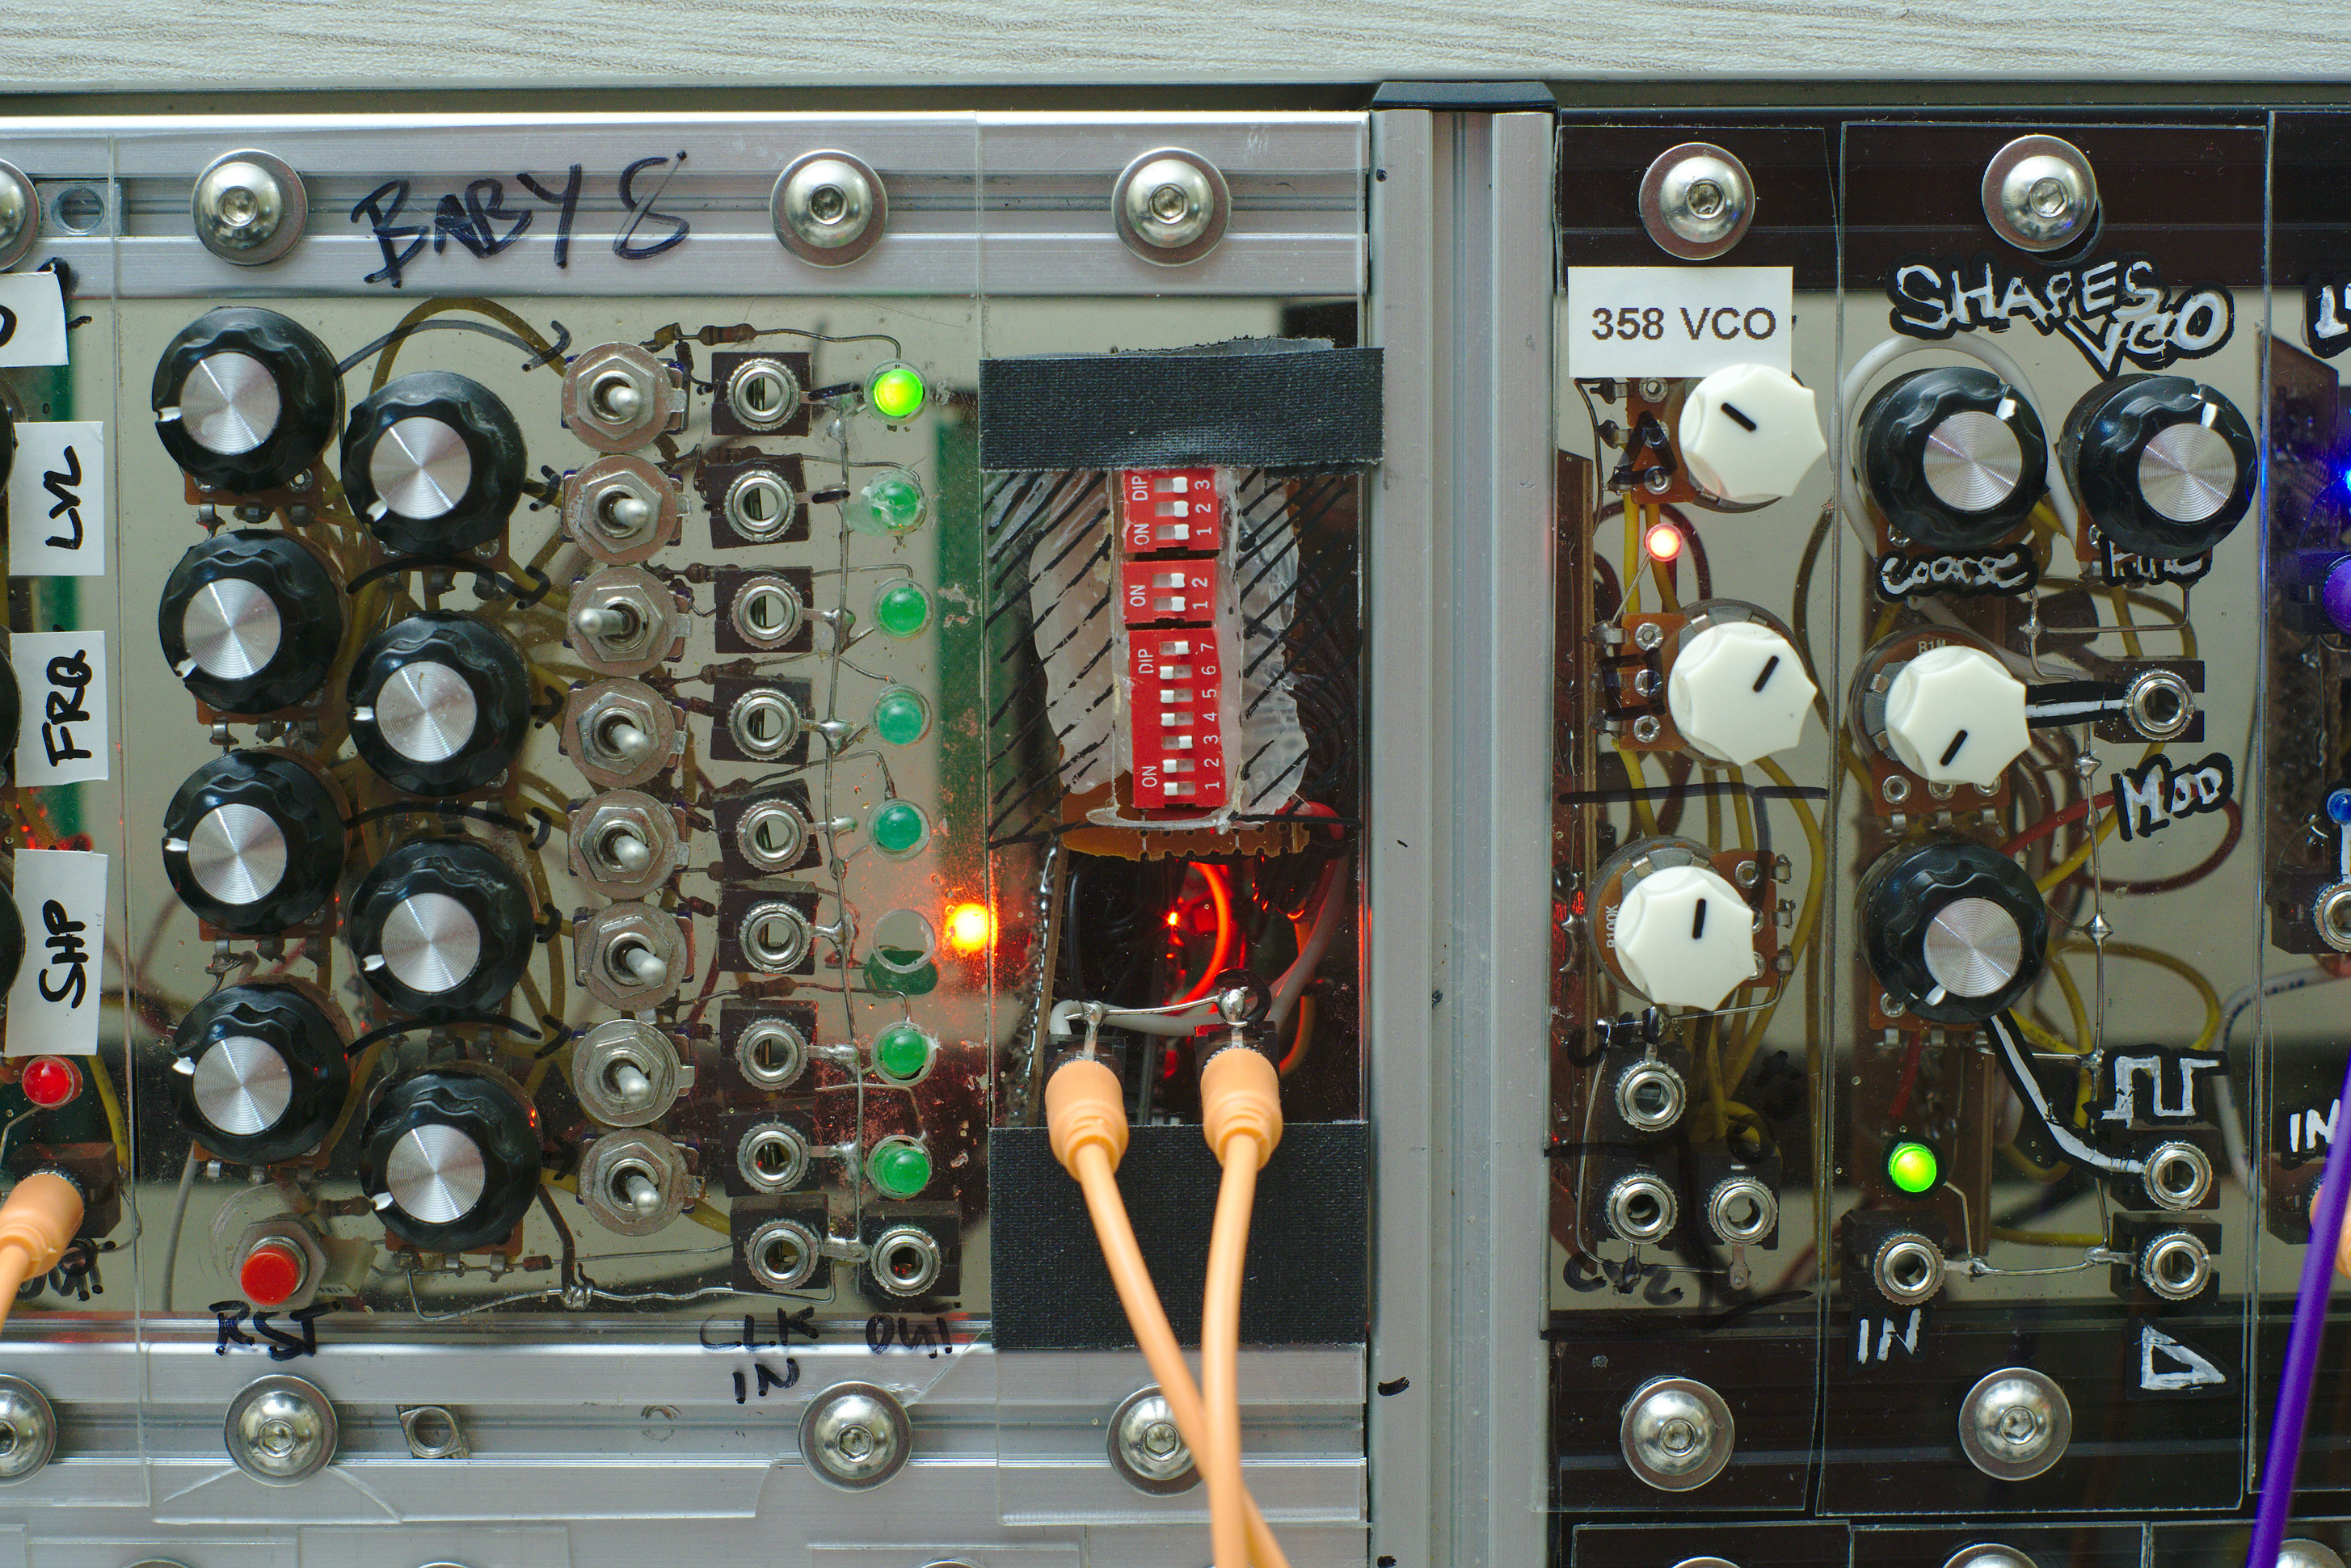
I did build a fully analog Baby-8 sequencer last year but the nondiscrete voltage output meant I had to tune each step to make it sound musical.
I decided to fix that and build a quantizer. It takes a voltage and tunes it to the nearest note in a scale. It’s autotune for control voltages.
Here’s a video of it in action:
Input and output
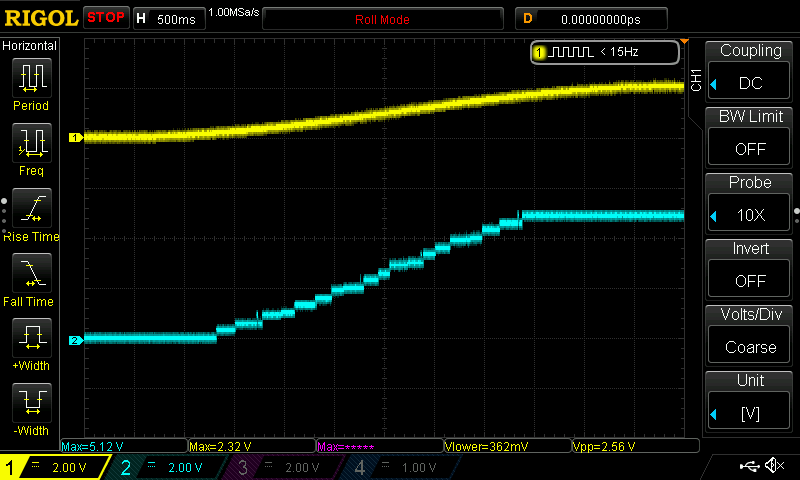
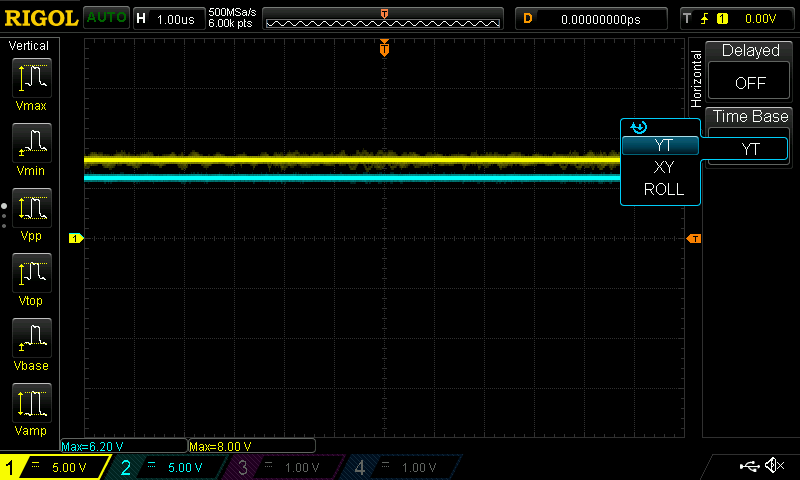
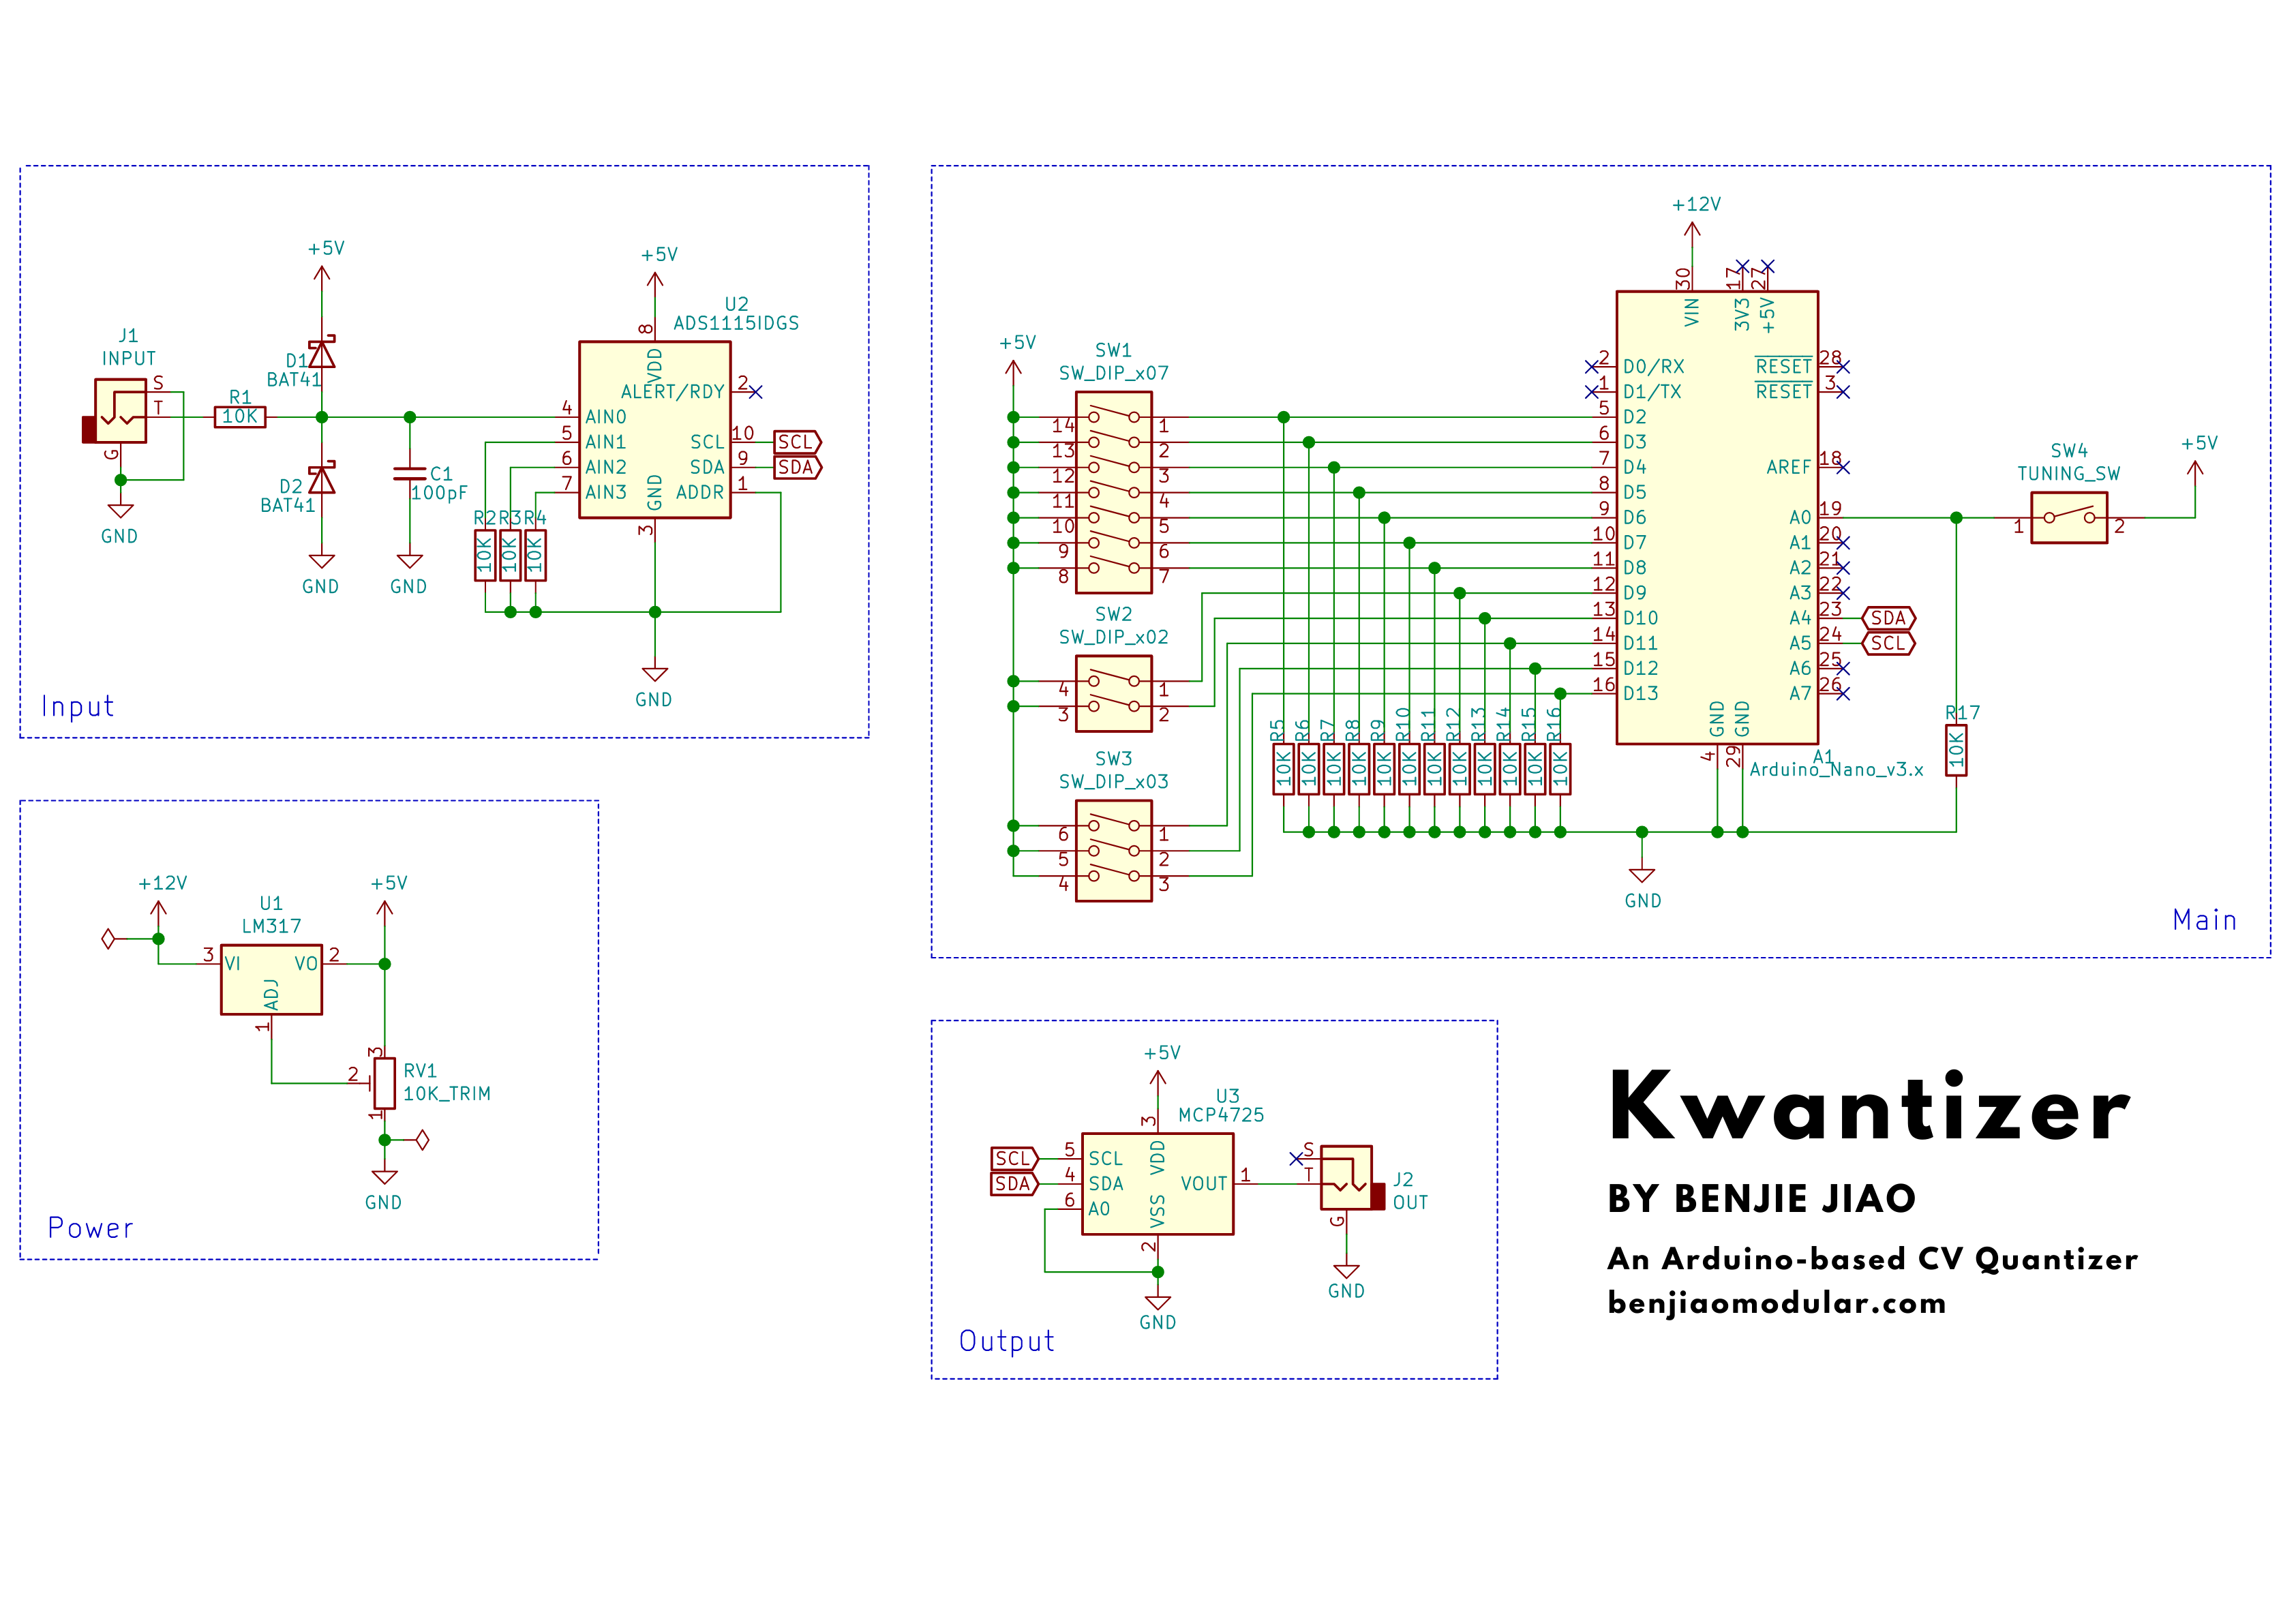
This module can handle CV from 0 to +5V, both for input and output. The range allows for 5 octaves in total.
I still have to decide on a better overvoltage protection solution, though. I added some BAT41 clamping diodes, but it seems to only do its thing at around 6.2V so be careful. Arduinos have a 5.5V limit on their input pins.
I’ll check out some other options for this. Maybe later I’ll talk about it in a separate post.
Scale selection
I used Alice Beaupré’s tinyQuan circuit on Github as a starting point. Her version has an awesome library of scales along with a screen. I used neither.
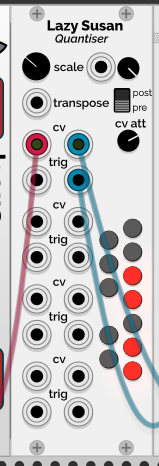
For my design I decided to go with a key layout inspired by Holonic Systems’ Lazy Susan Quantizer–a plugin I frequently use on VCV Rack. I like how you can set your own scales using a keyboard layout.
I find it nice that I can add or remove notes on the fly.
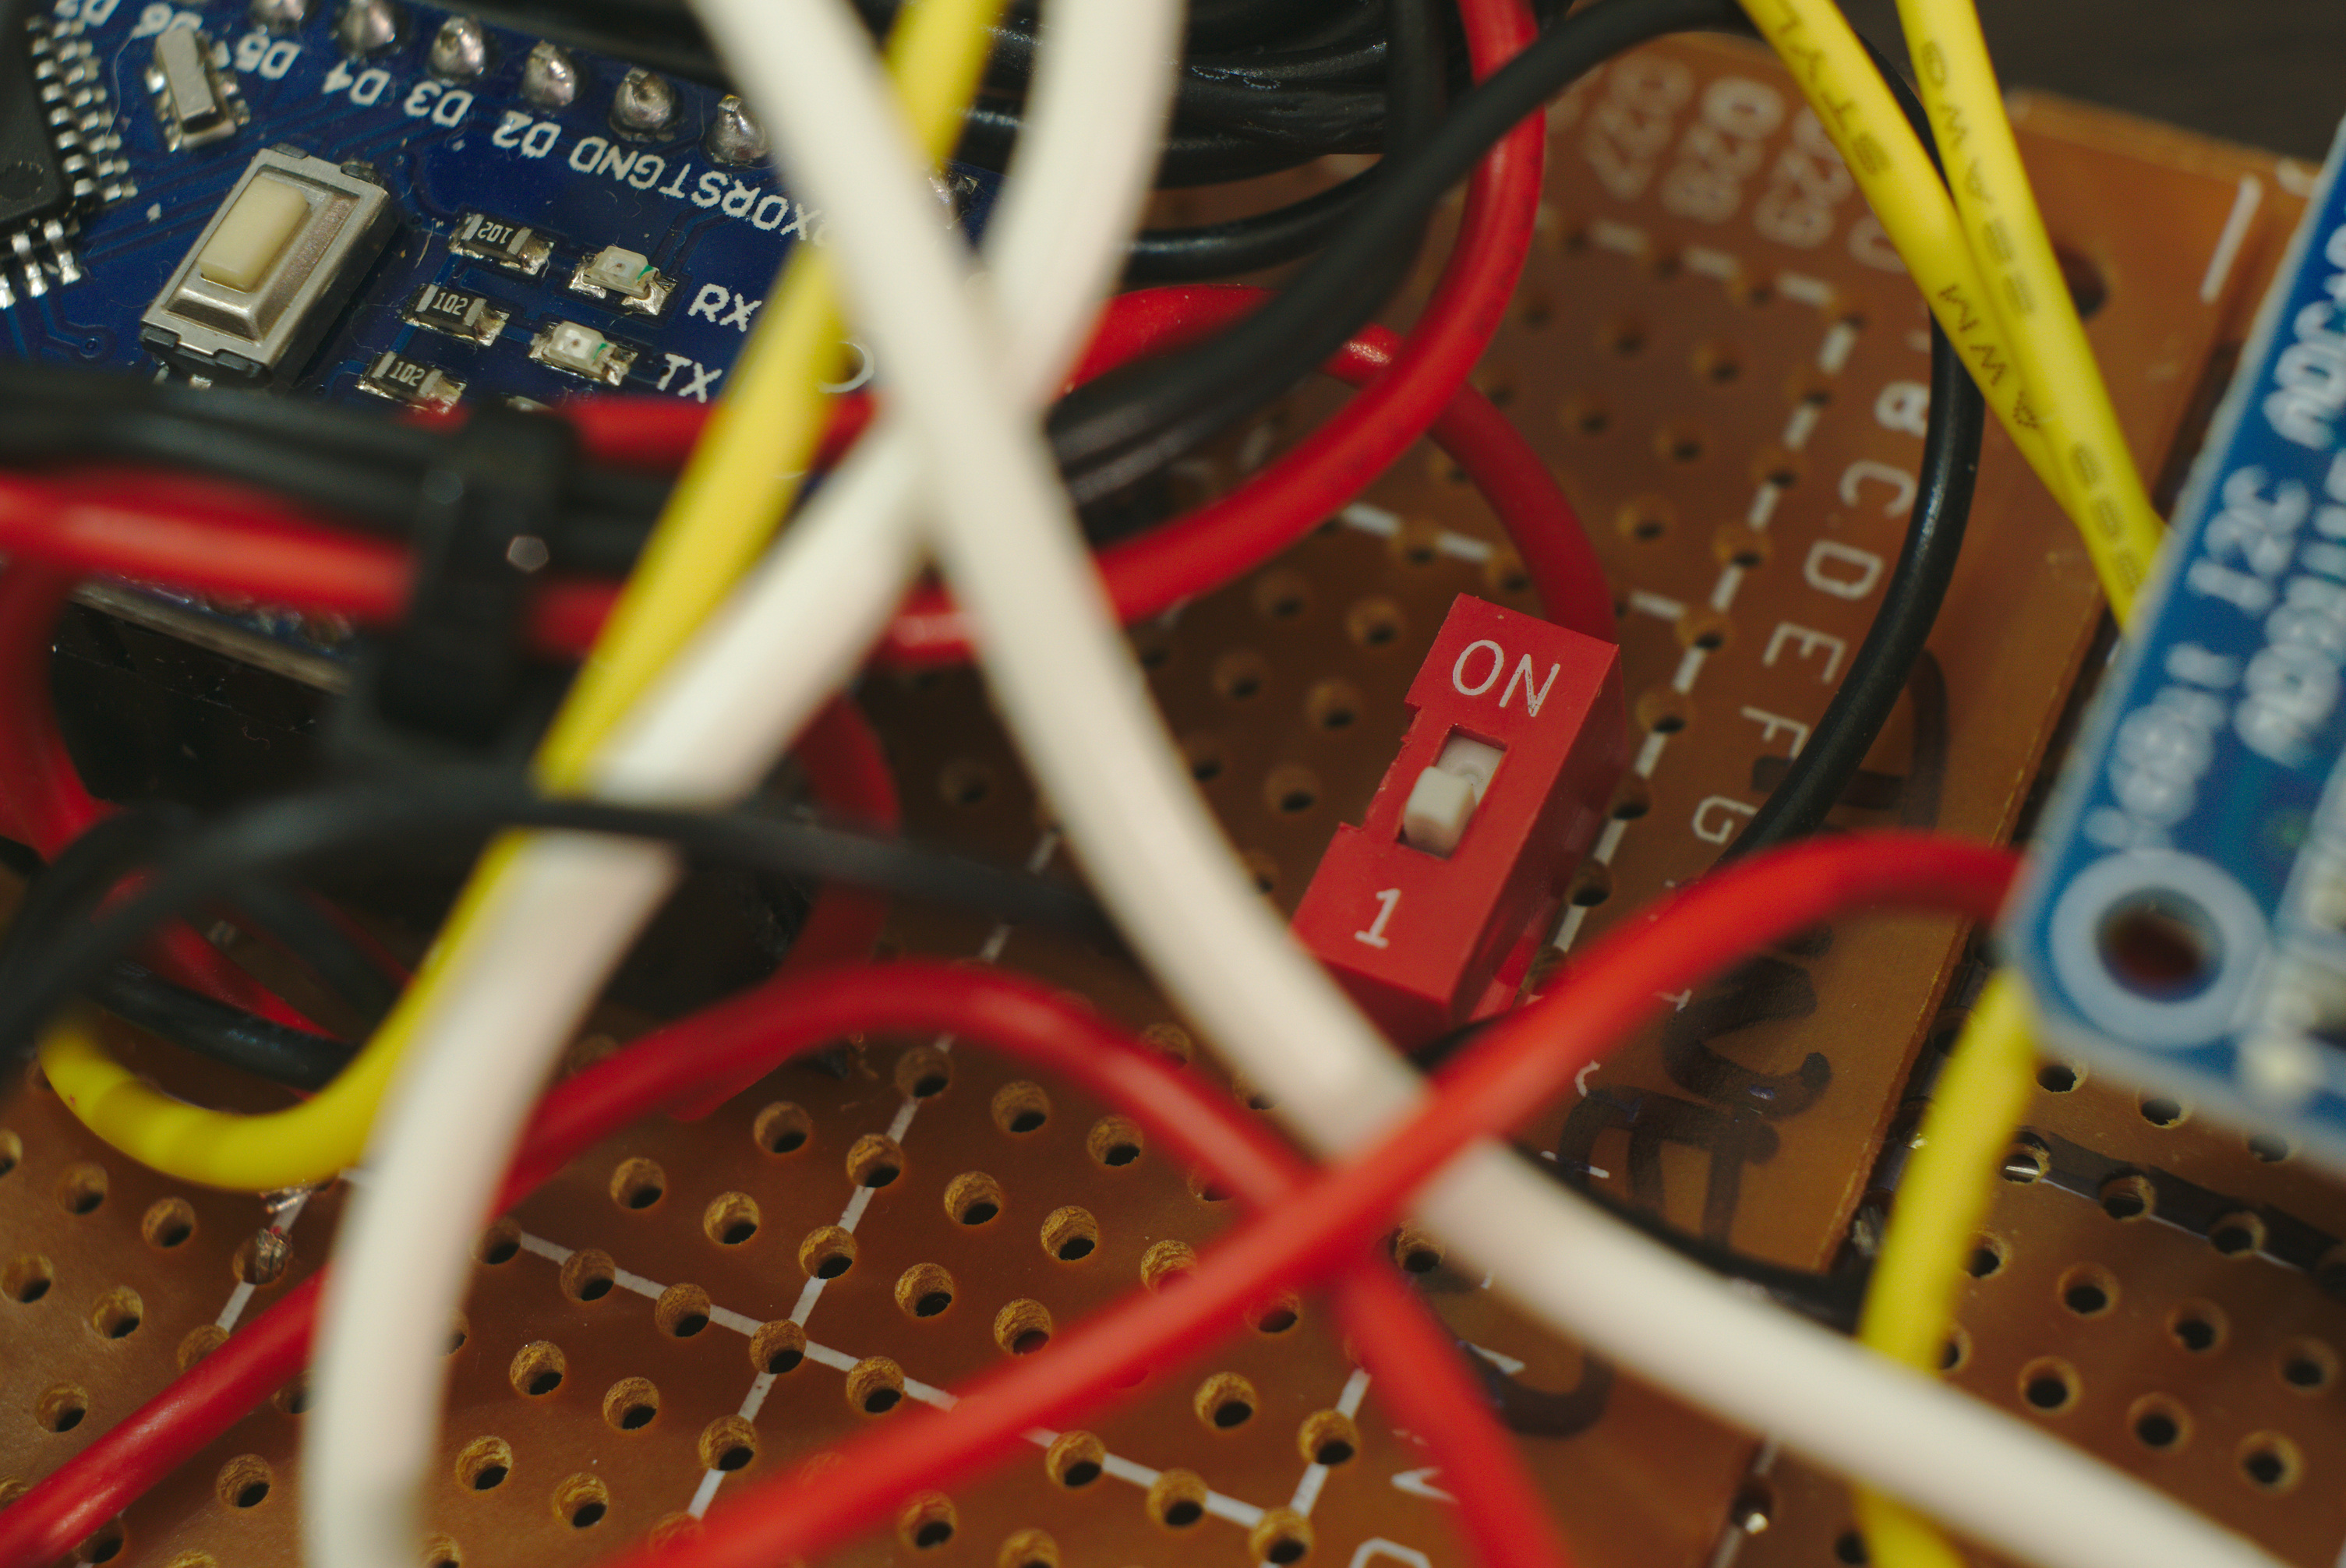
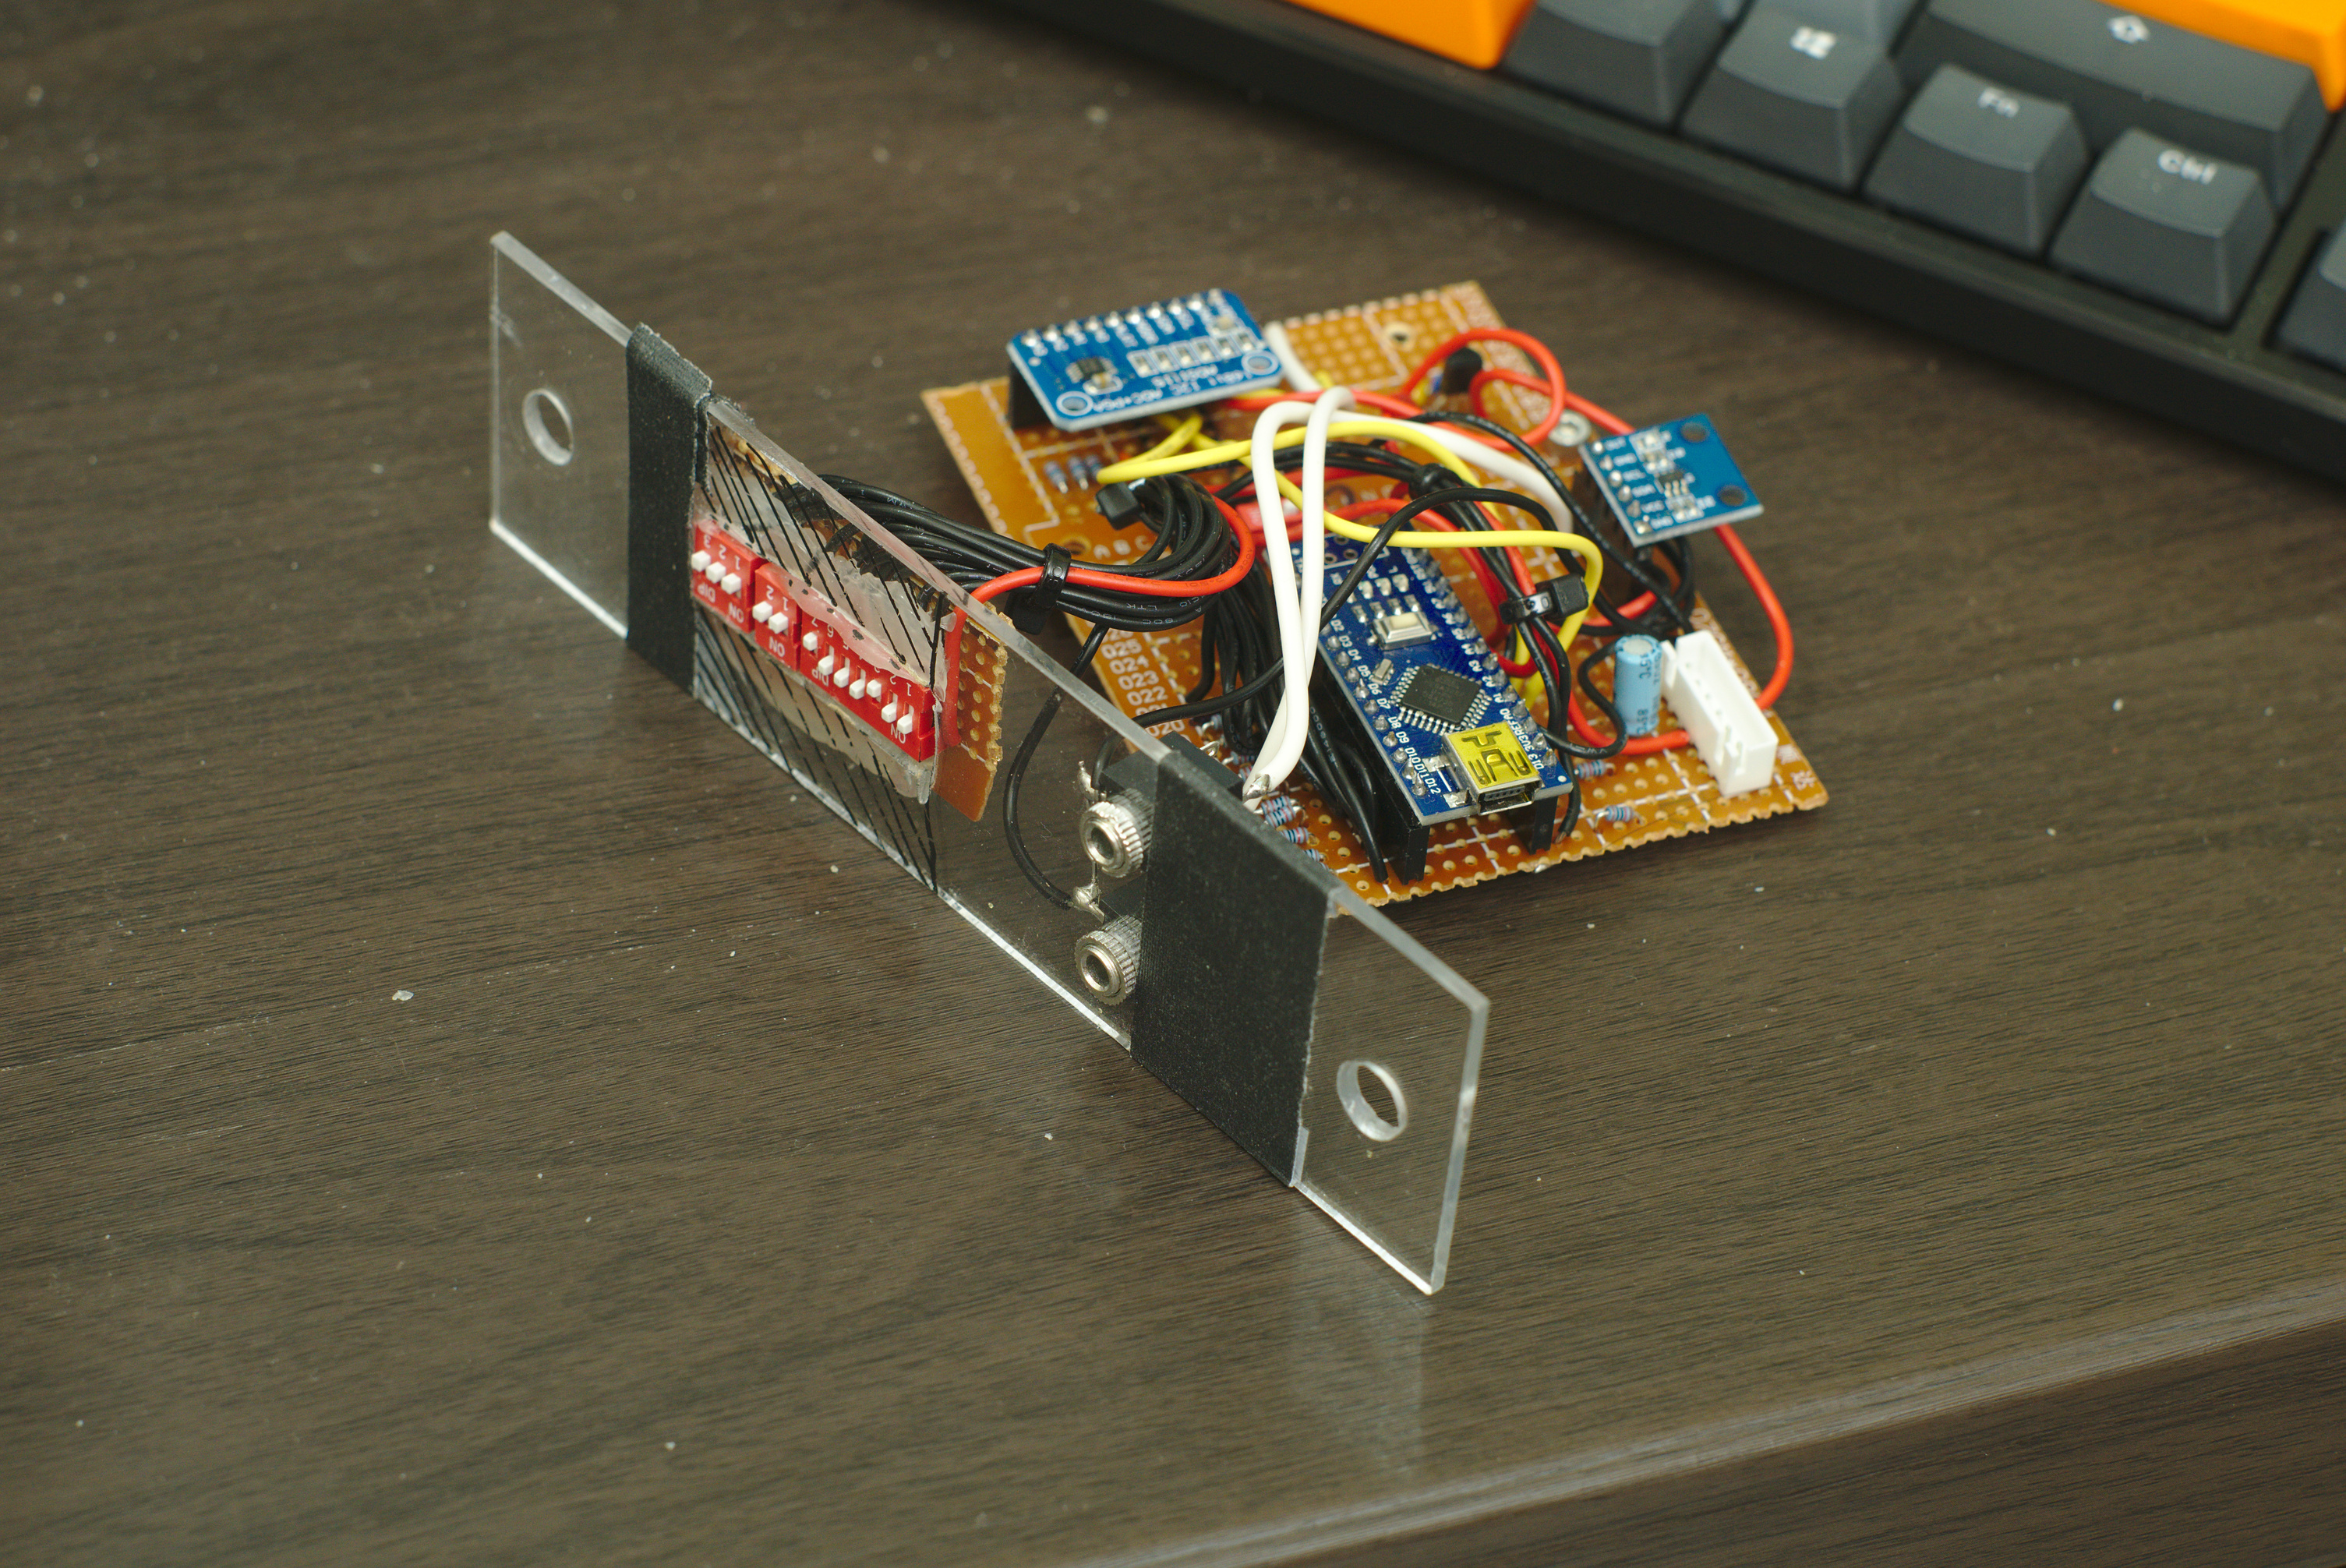
I decided to do it using DIP switches. In hindsight, after playing with it a bit, the tiny switches make it a bit fiddly. It’s not bad if you want a really small layout though.
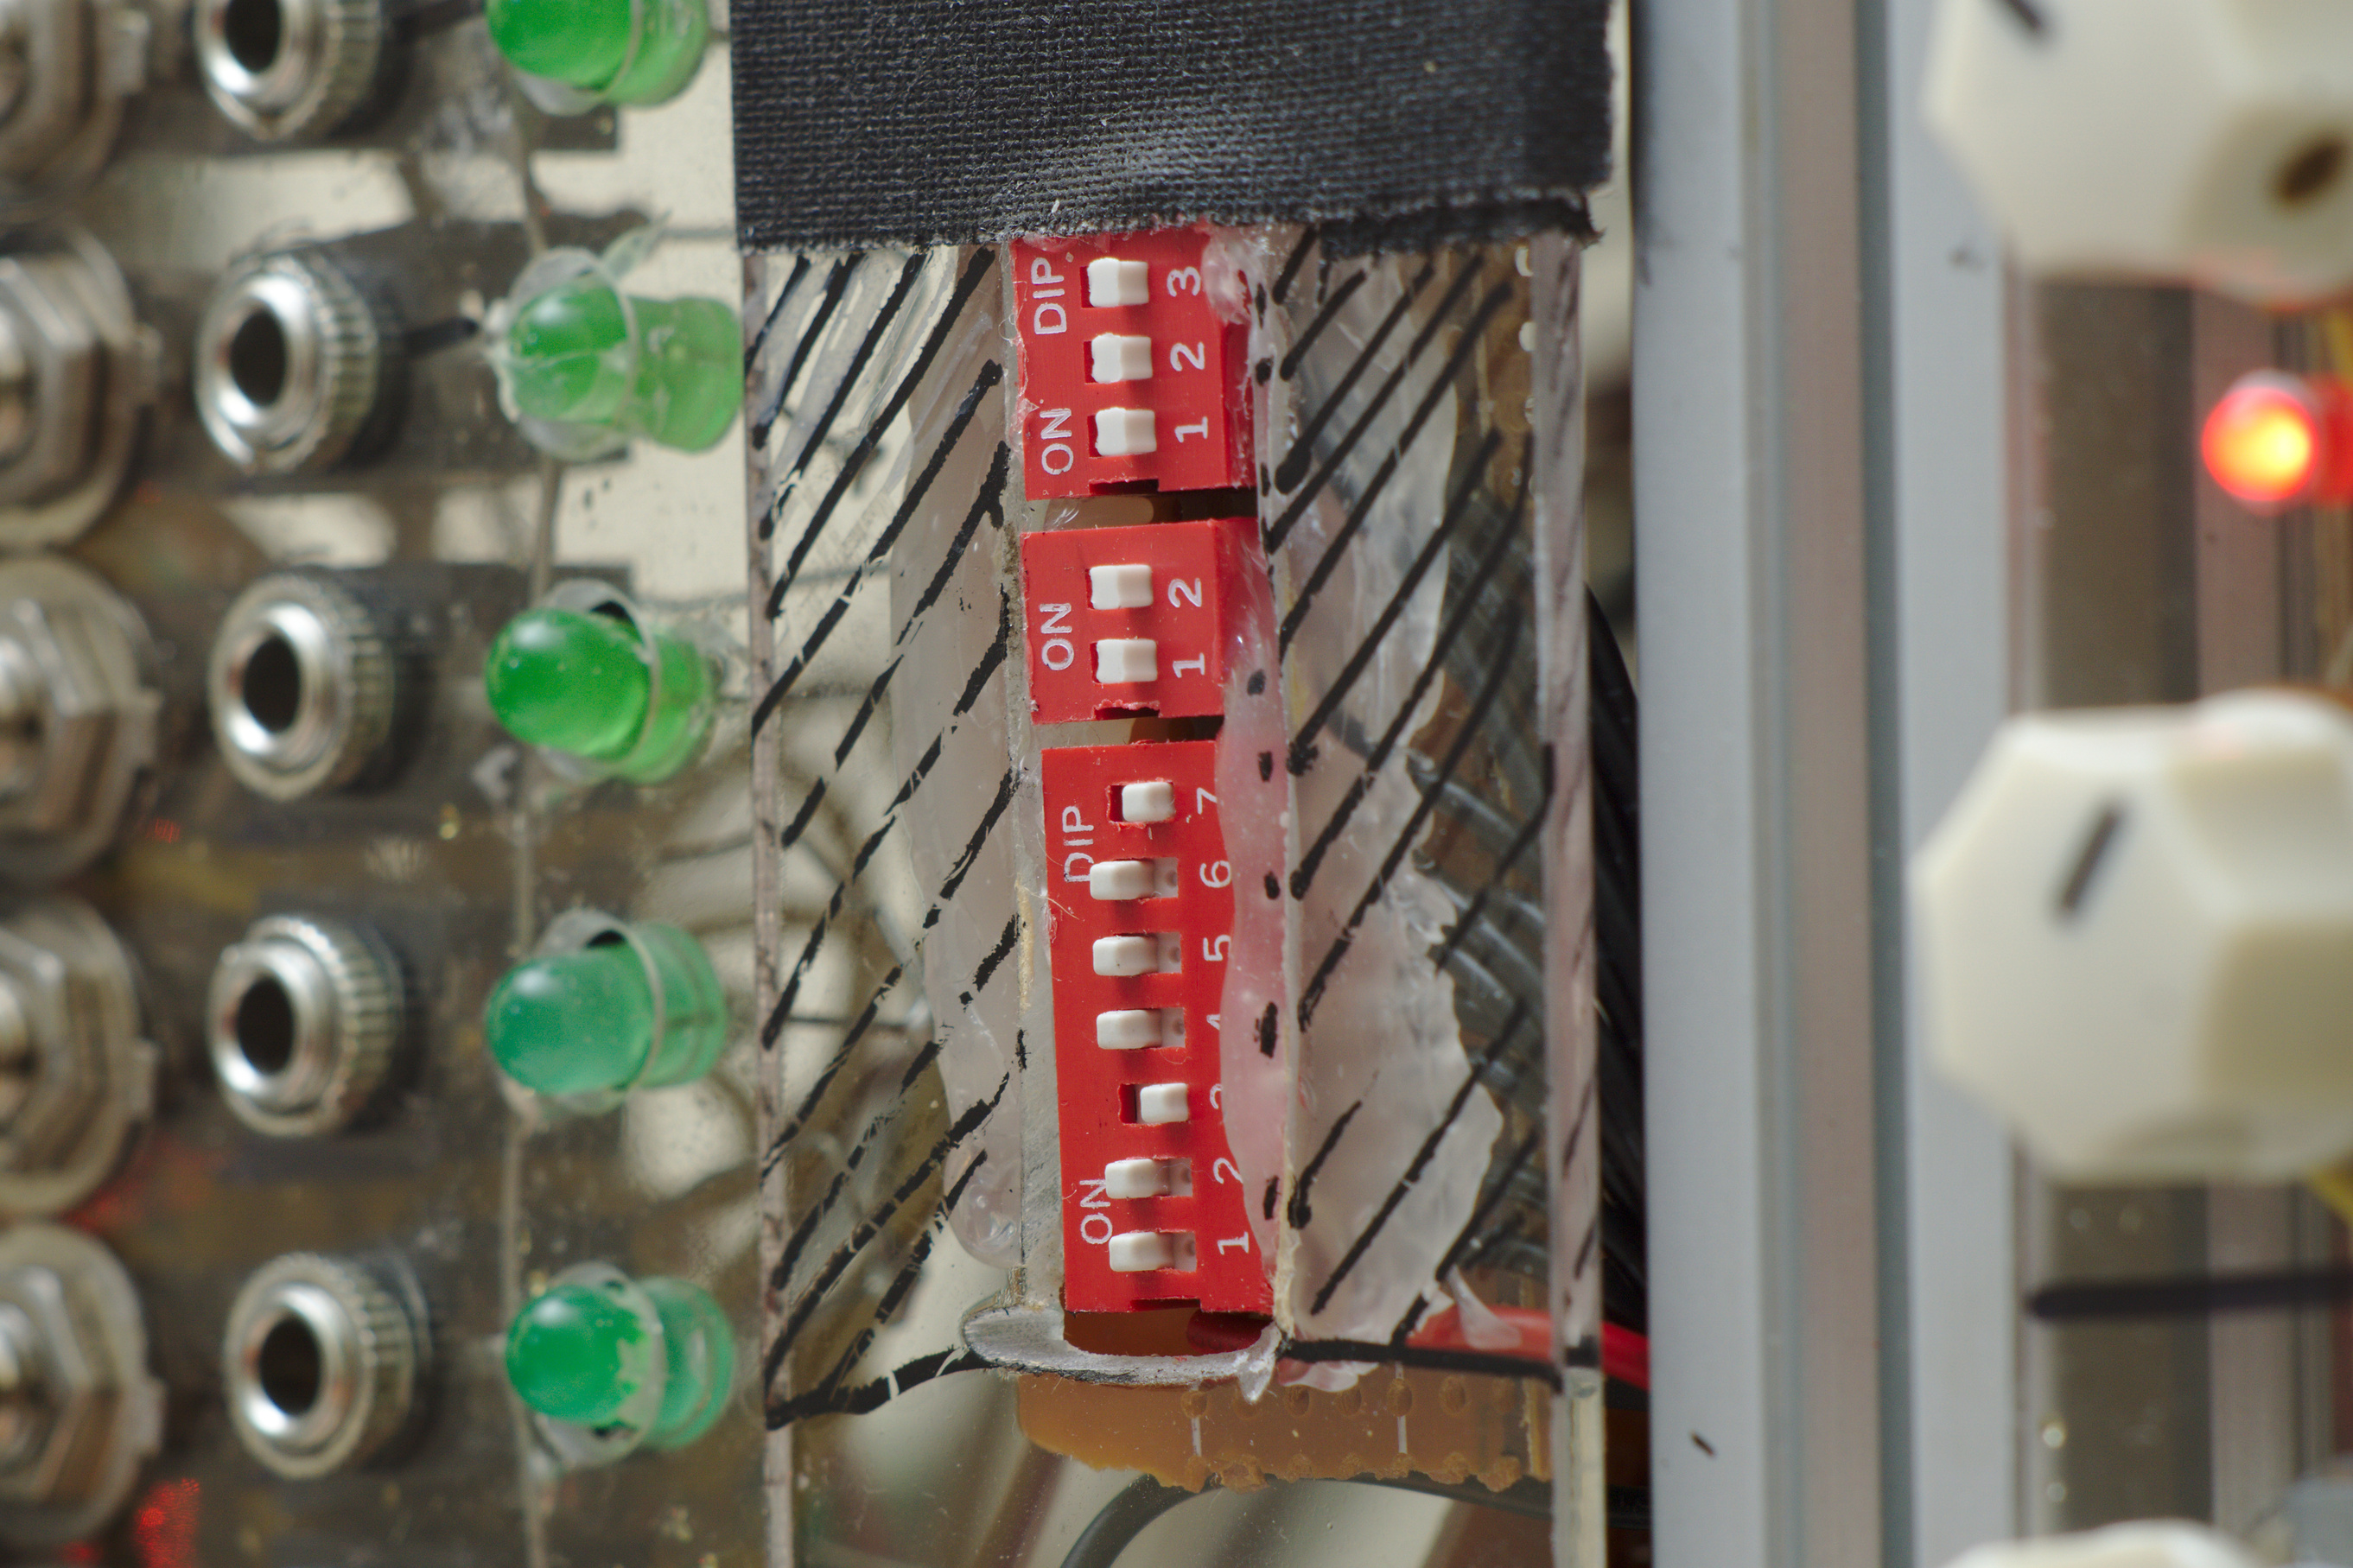
Yes, I used hot glue to mount them. I’m sorry.
Tuning
My build so far has not been tuned properly because I was waiting for my L317 voltage regulators to arrive.
In the schematics, I added a “tune” switch that sets the DAC to put out 5V and a trim pot to adjust the output of the LM317 regulator. The idea is to tune the regulator until the output of the DAC is as close to 5V as possible. But I still have to verify how well this setup lets me hit the mark.
In the meantime, I used a 78L05 regulator to give me a somewhat stable 5V source.
I’ll probably post some updates on Instagram once I get it to work.
Components
Bill of materials
- 1 x Arduino Nano
- 1 x 100pF capacitor
- 2 x BAT41
- 2 x 3.5mm audio jack
- 17 x 10k resistors
- 1 x 10k multi-turn trimmer potentiometer
- 1 x 7 position DIP switch
- 1 x 3 position DIP switch
- 1 x 2 position DIP switch
- 1 x 1 position DIP switch
- 1 x LM317
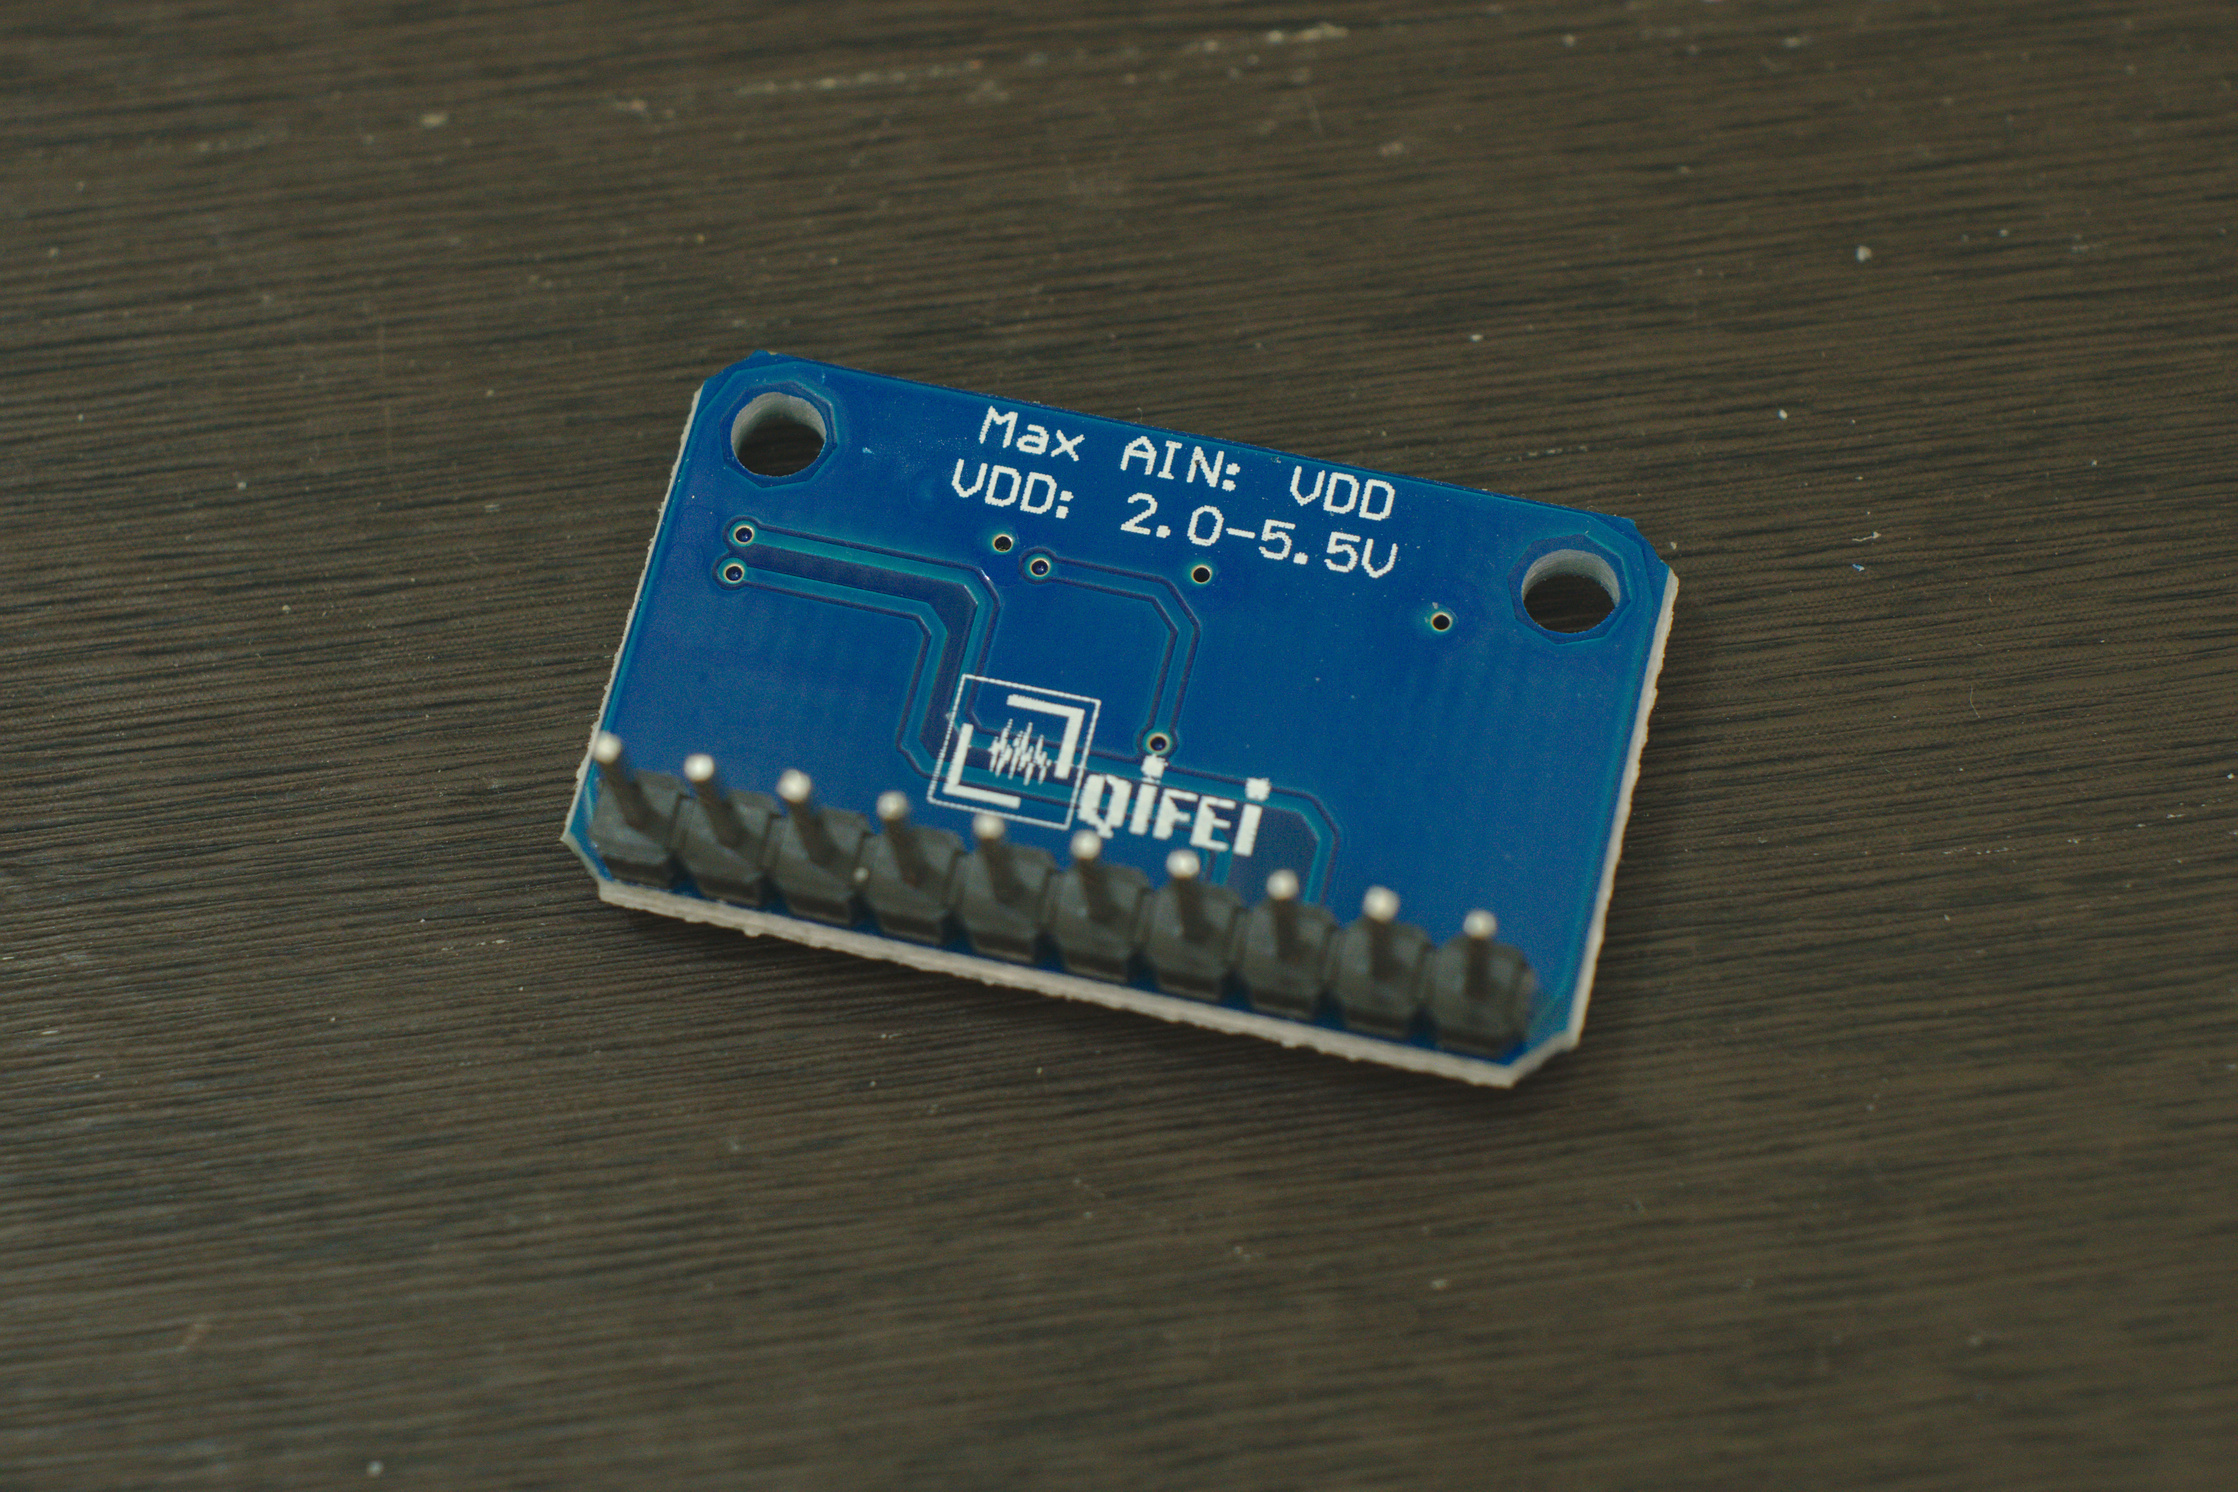
- 1 x ADS1115
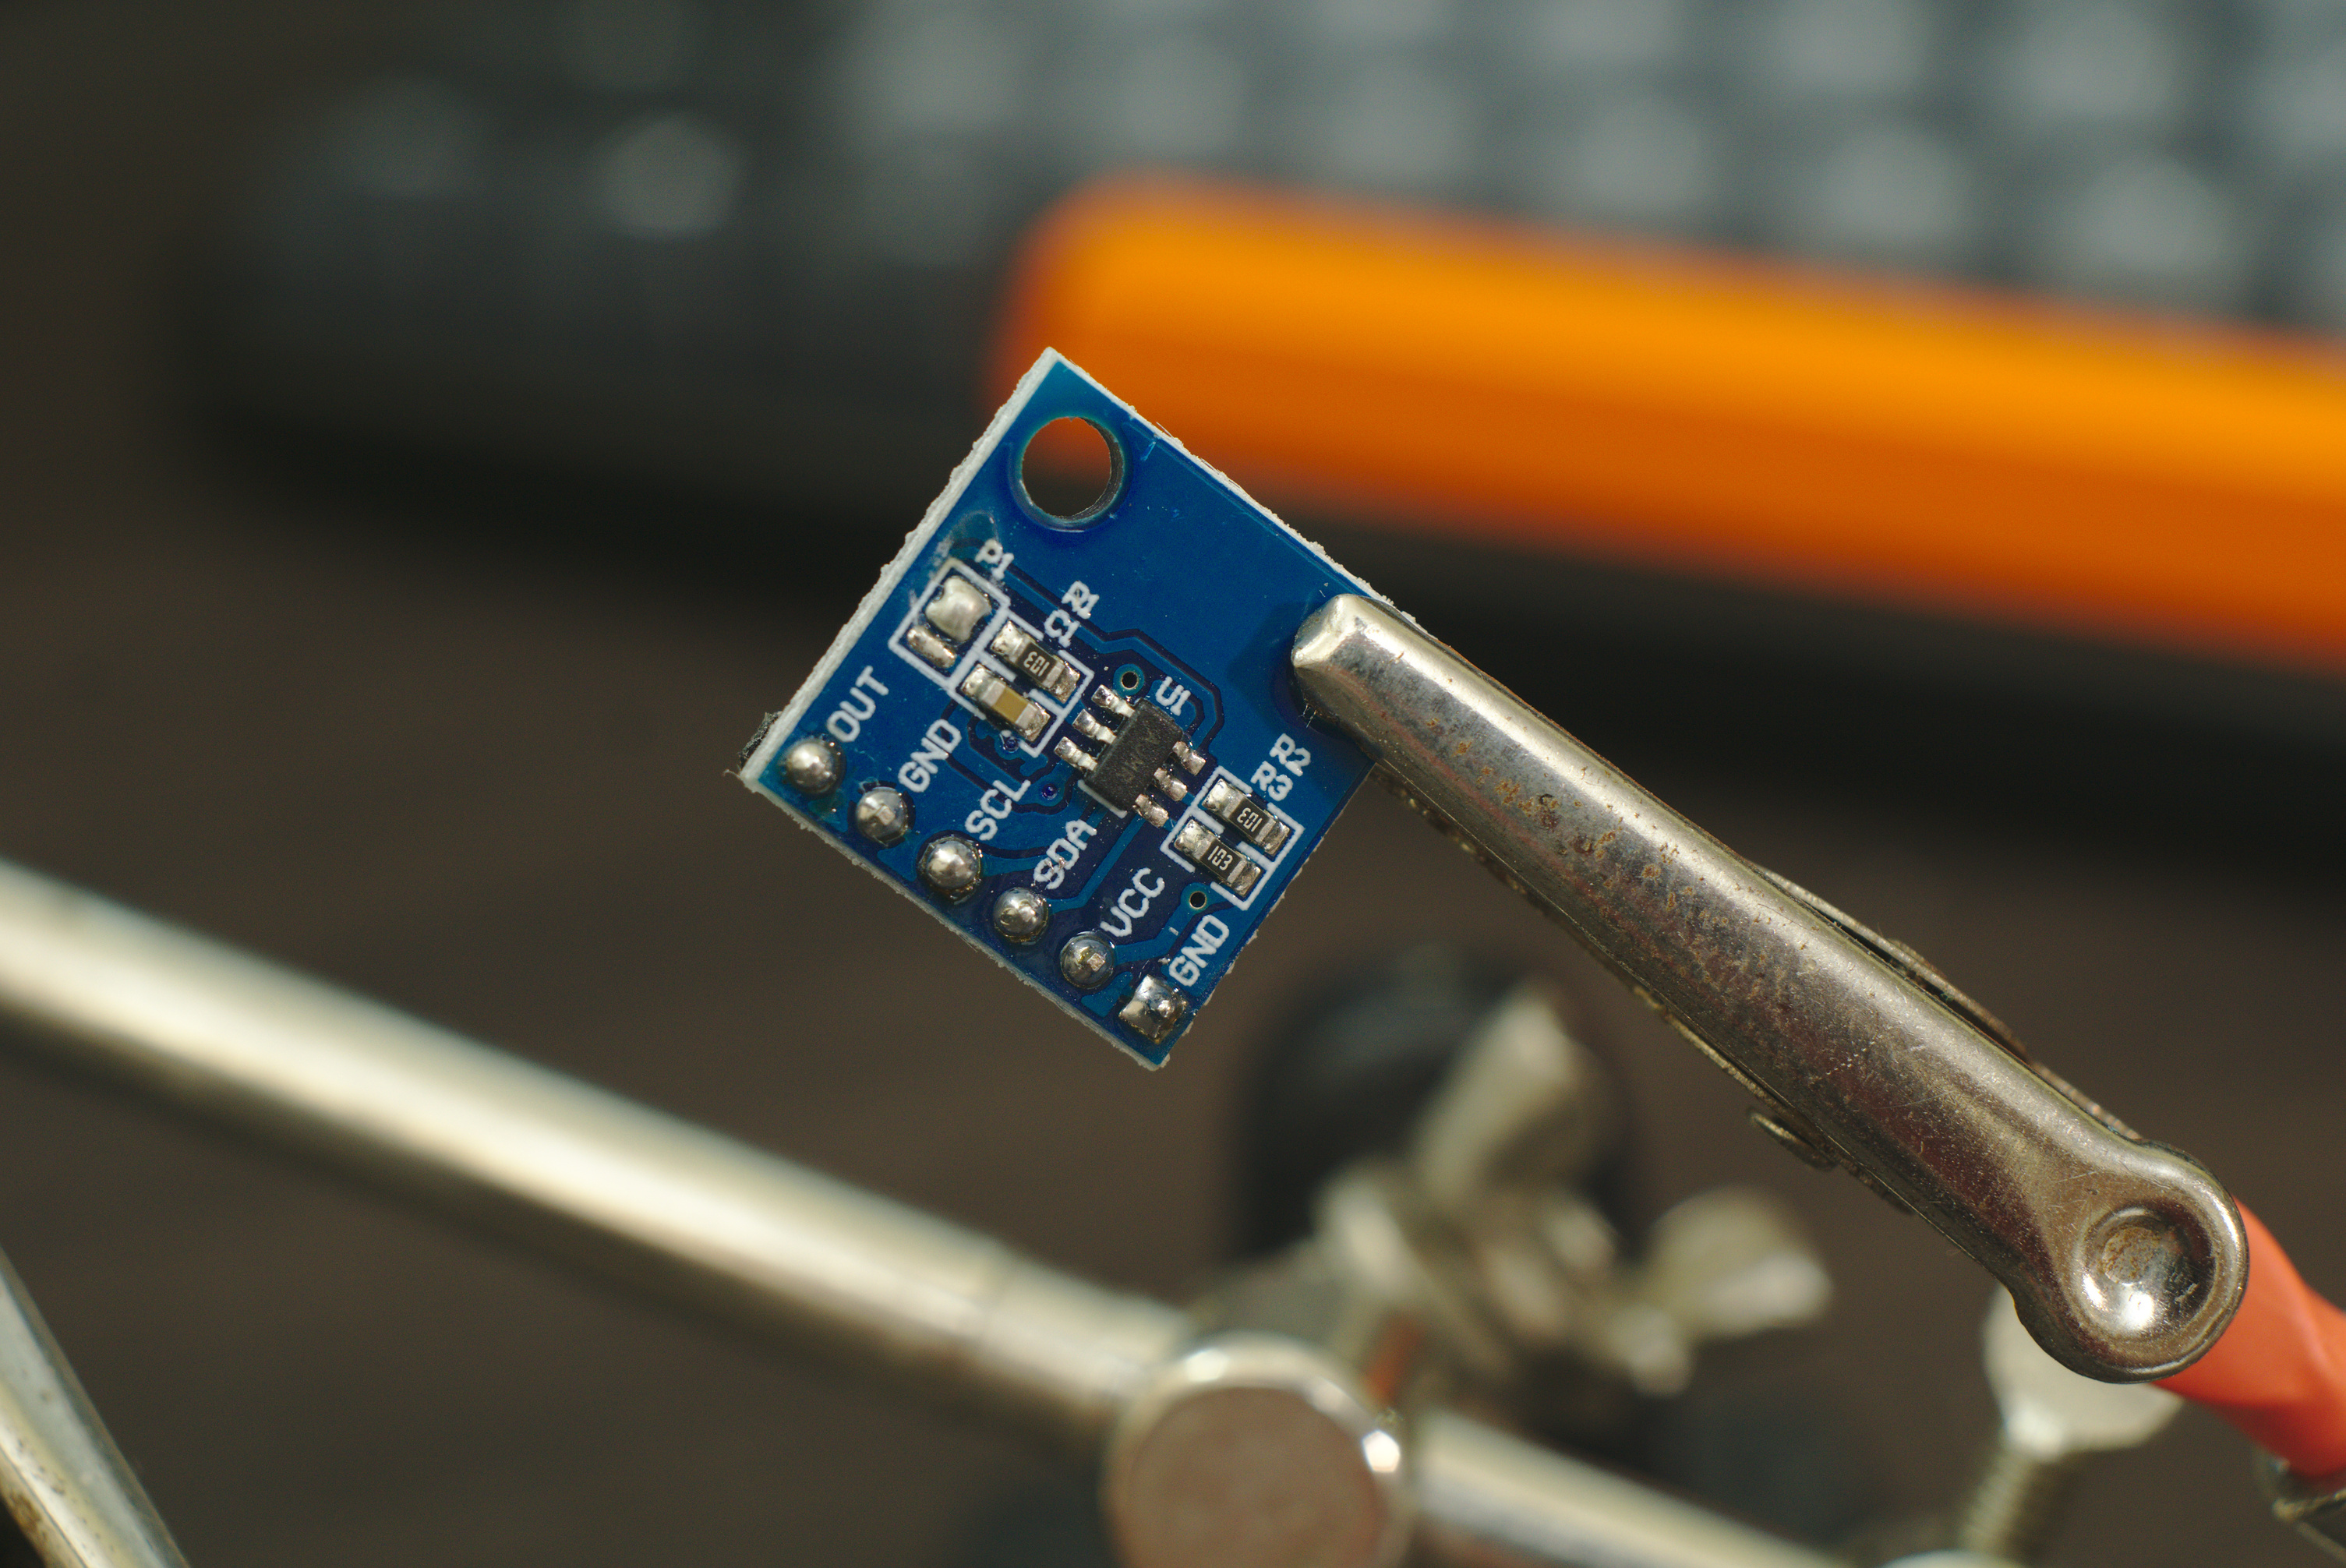
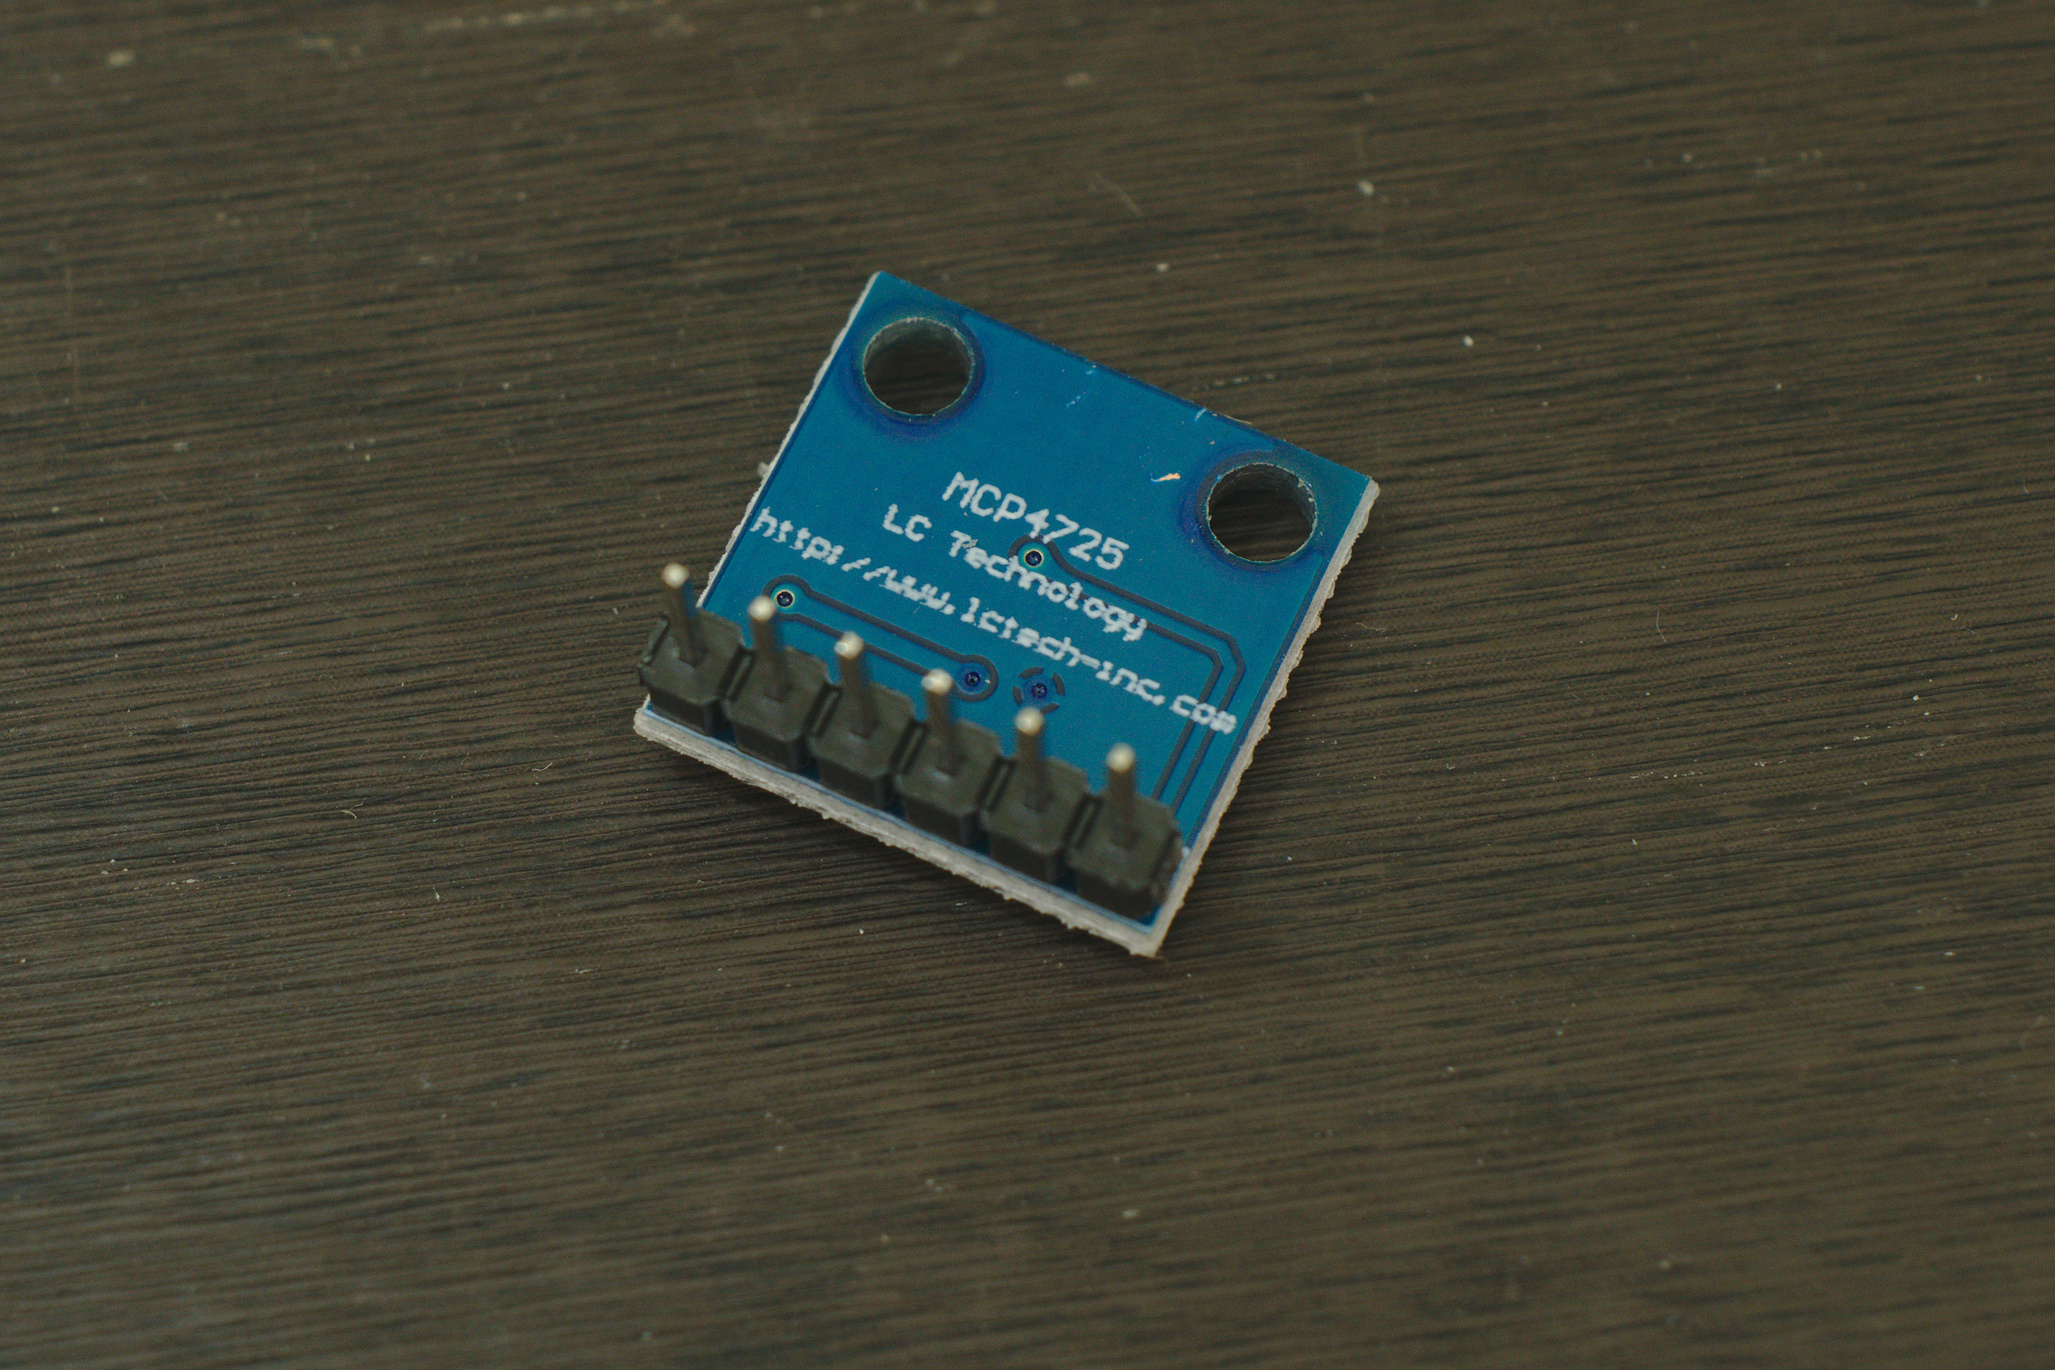
- 1 x MCP4725
The Analog to Digital Converter
I bought the ADC off of Makerlab Electronics, an online electronics shop here in the Philippines. Here’s a link to the actual item.
I chose to buy something like this in breakout board form so I could avoid soldering SMD. It worked just fine though, I just used the markings on the board as reference.

The Digital to Analog Converter
The DAC I used is also a breakout board. I got it from circuit.rocks, another online electronics shop here in the Philippines I frequently buy from. Here’s a link to the item.
Schematics
Here’s my schematics based on Alice Beaupré’s tinyQuan circuit. I added the overvoltage protection section at the input, which I still intend on improving.
Arduino Code
My code for this is a stripped down version of Alice’s. Without the screen and the scales library, it’s pretty lean. I could probably use it as reference for future Arduino projects.
The latest code is on my Github.
Some important libraries you’ll need to install:
- MCP4725 by Rob Tillaart
- ADS1X15 by Rob Tillaart
It comes in two files: (1) Kwantizer.ino contains the main source code and (2) definitions.h contains some contant variables and look-up tables.
Conclusion
My perfboard prototype for this has to be my ugliest looking build yet. It works well though. I should build a PCB for this in the future so I can do it justice.
Let me know if you’ve built it! Tag me on Instagram @benjiaomodular.