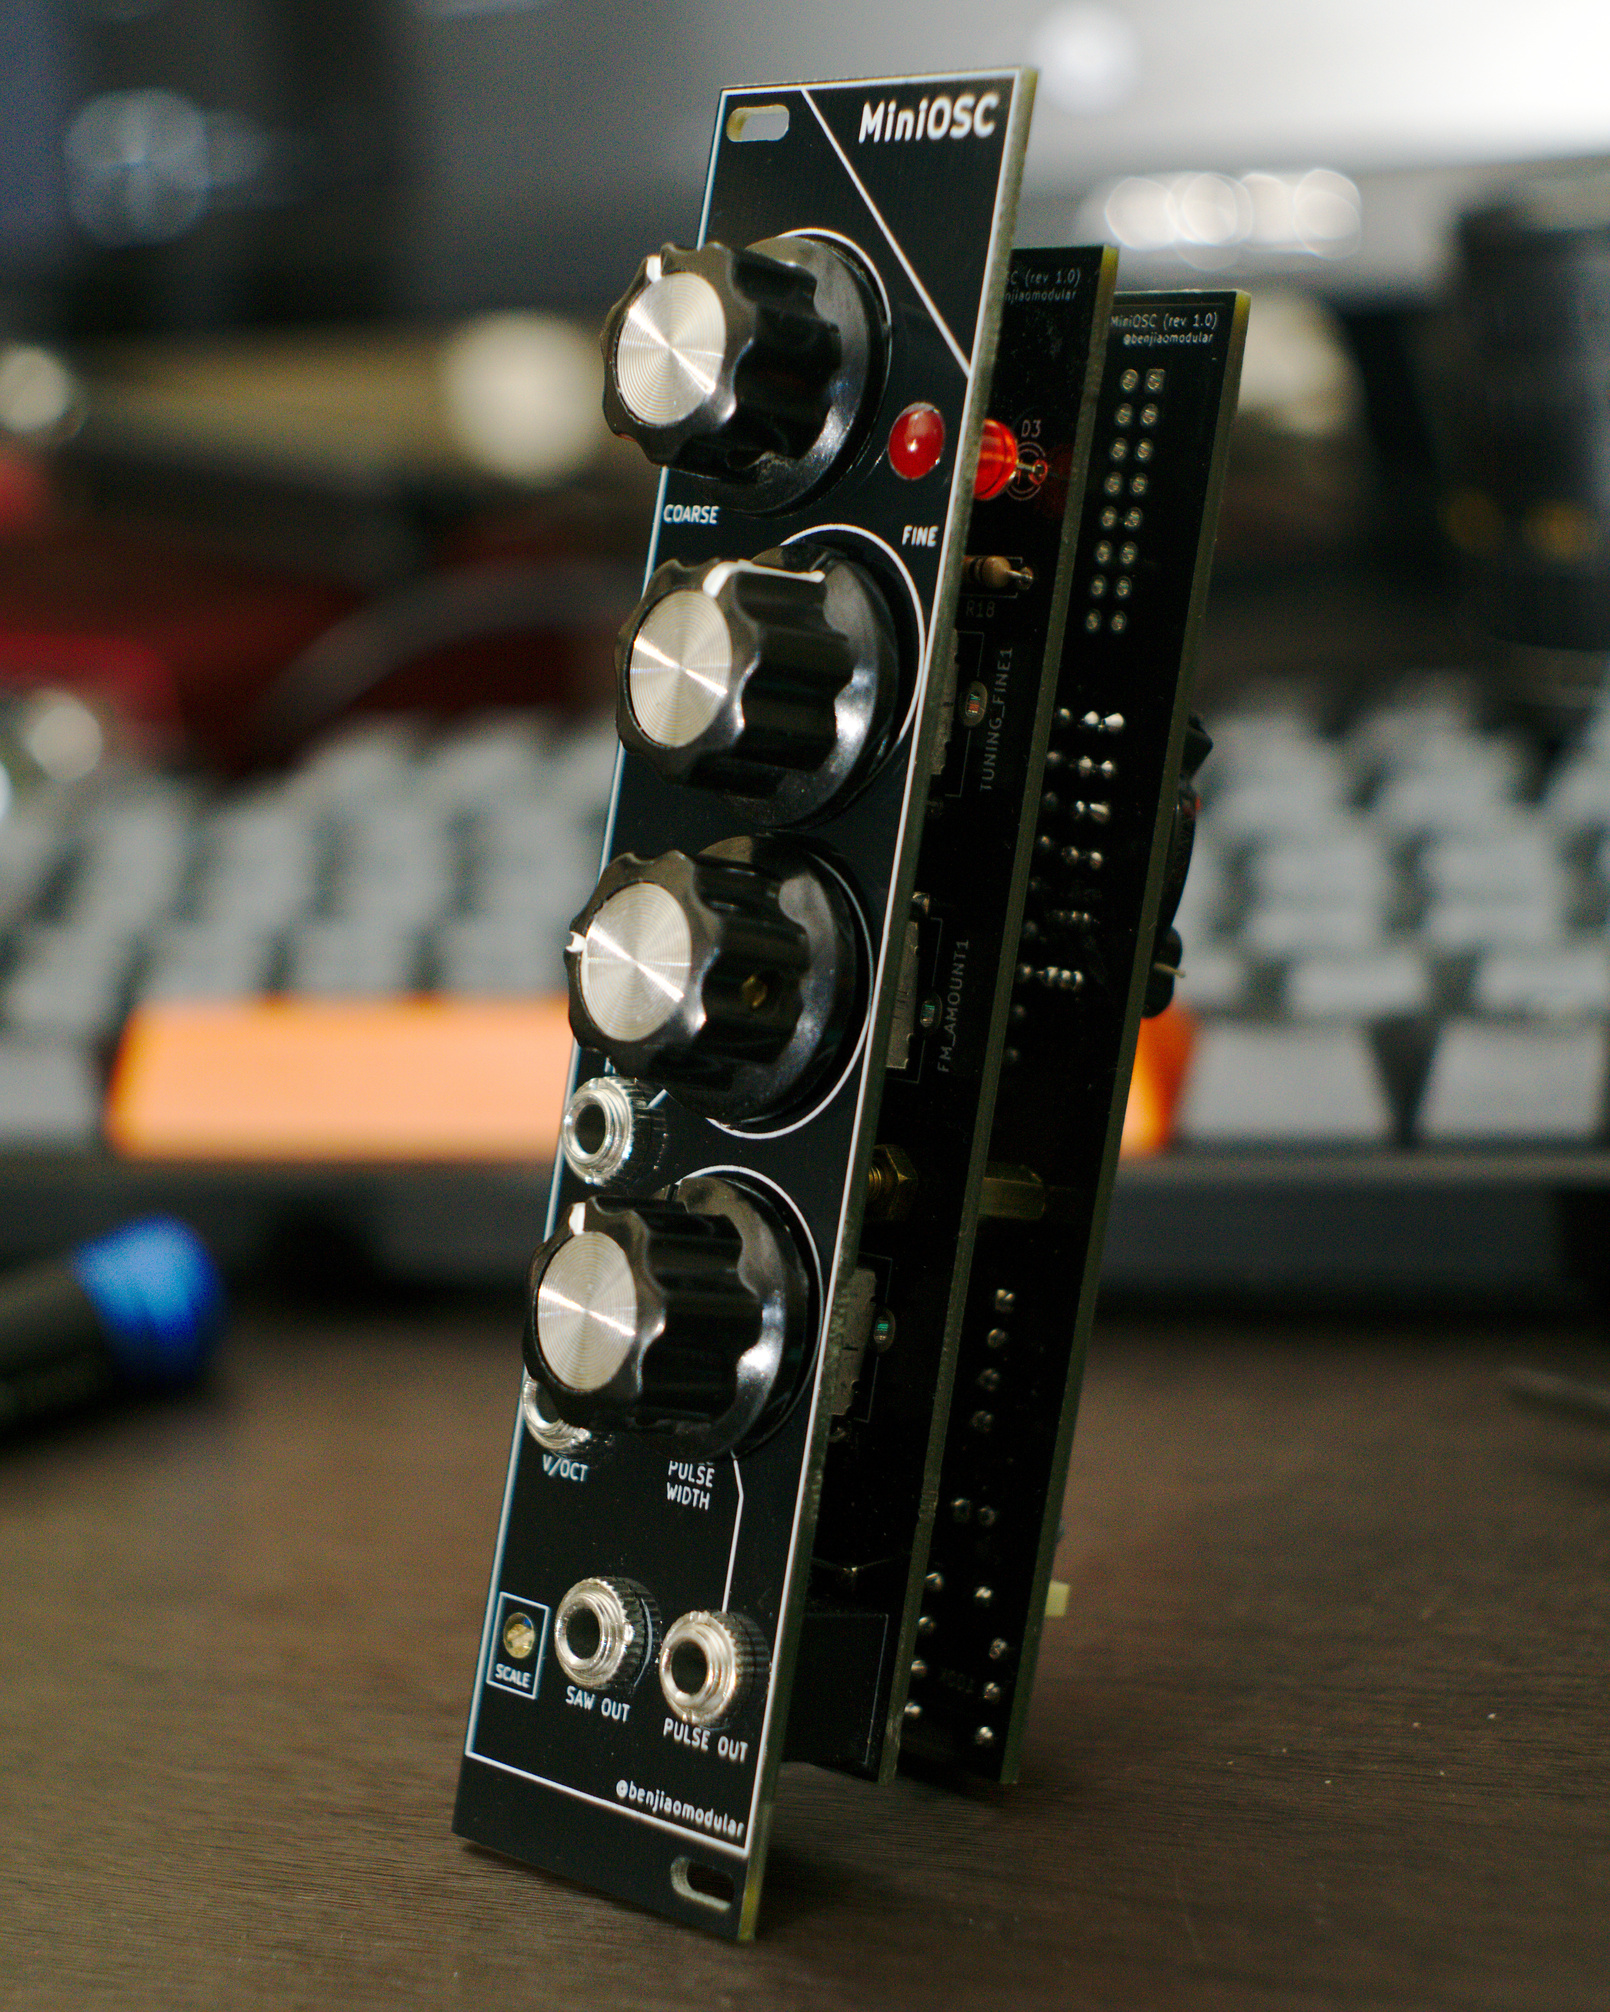
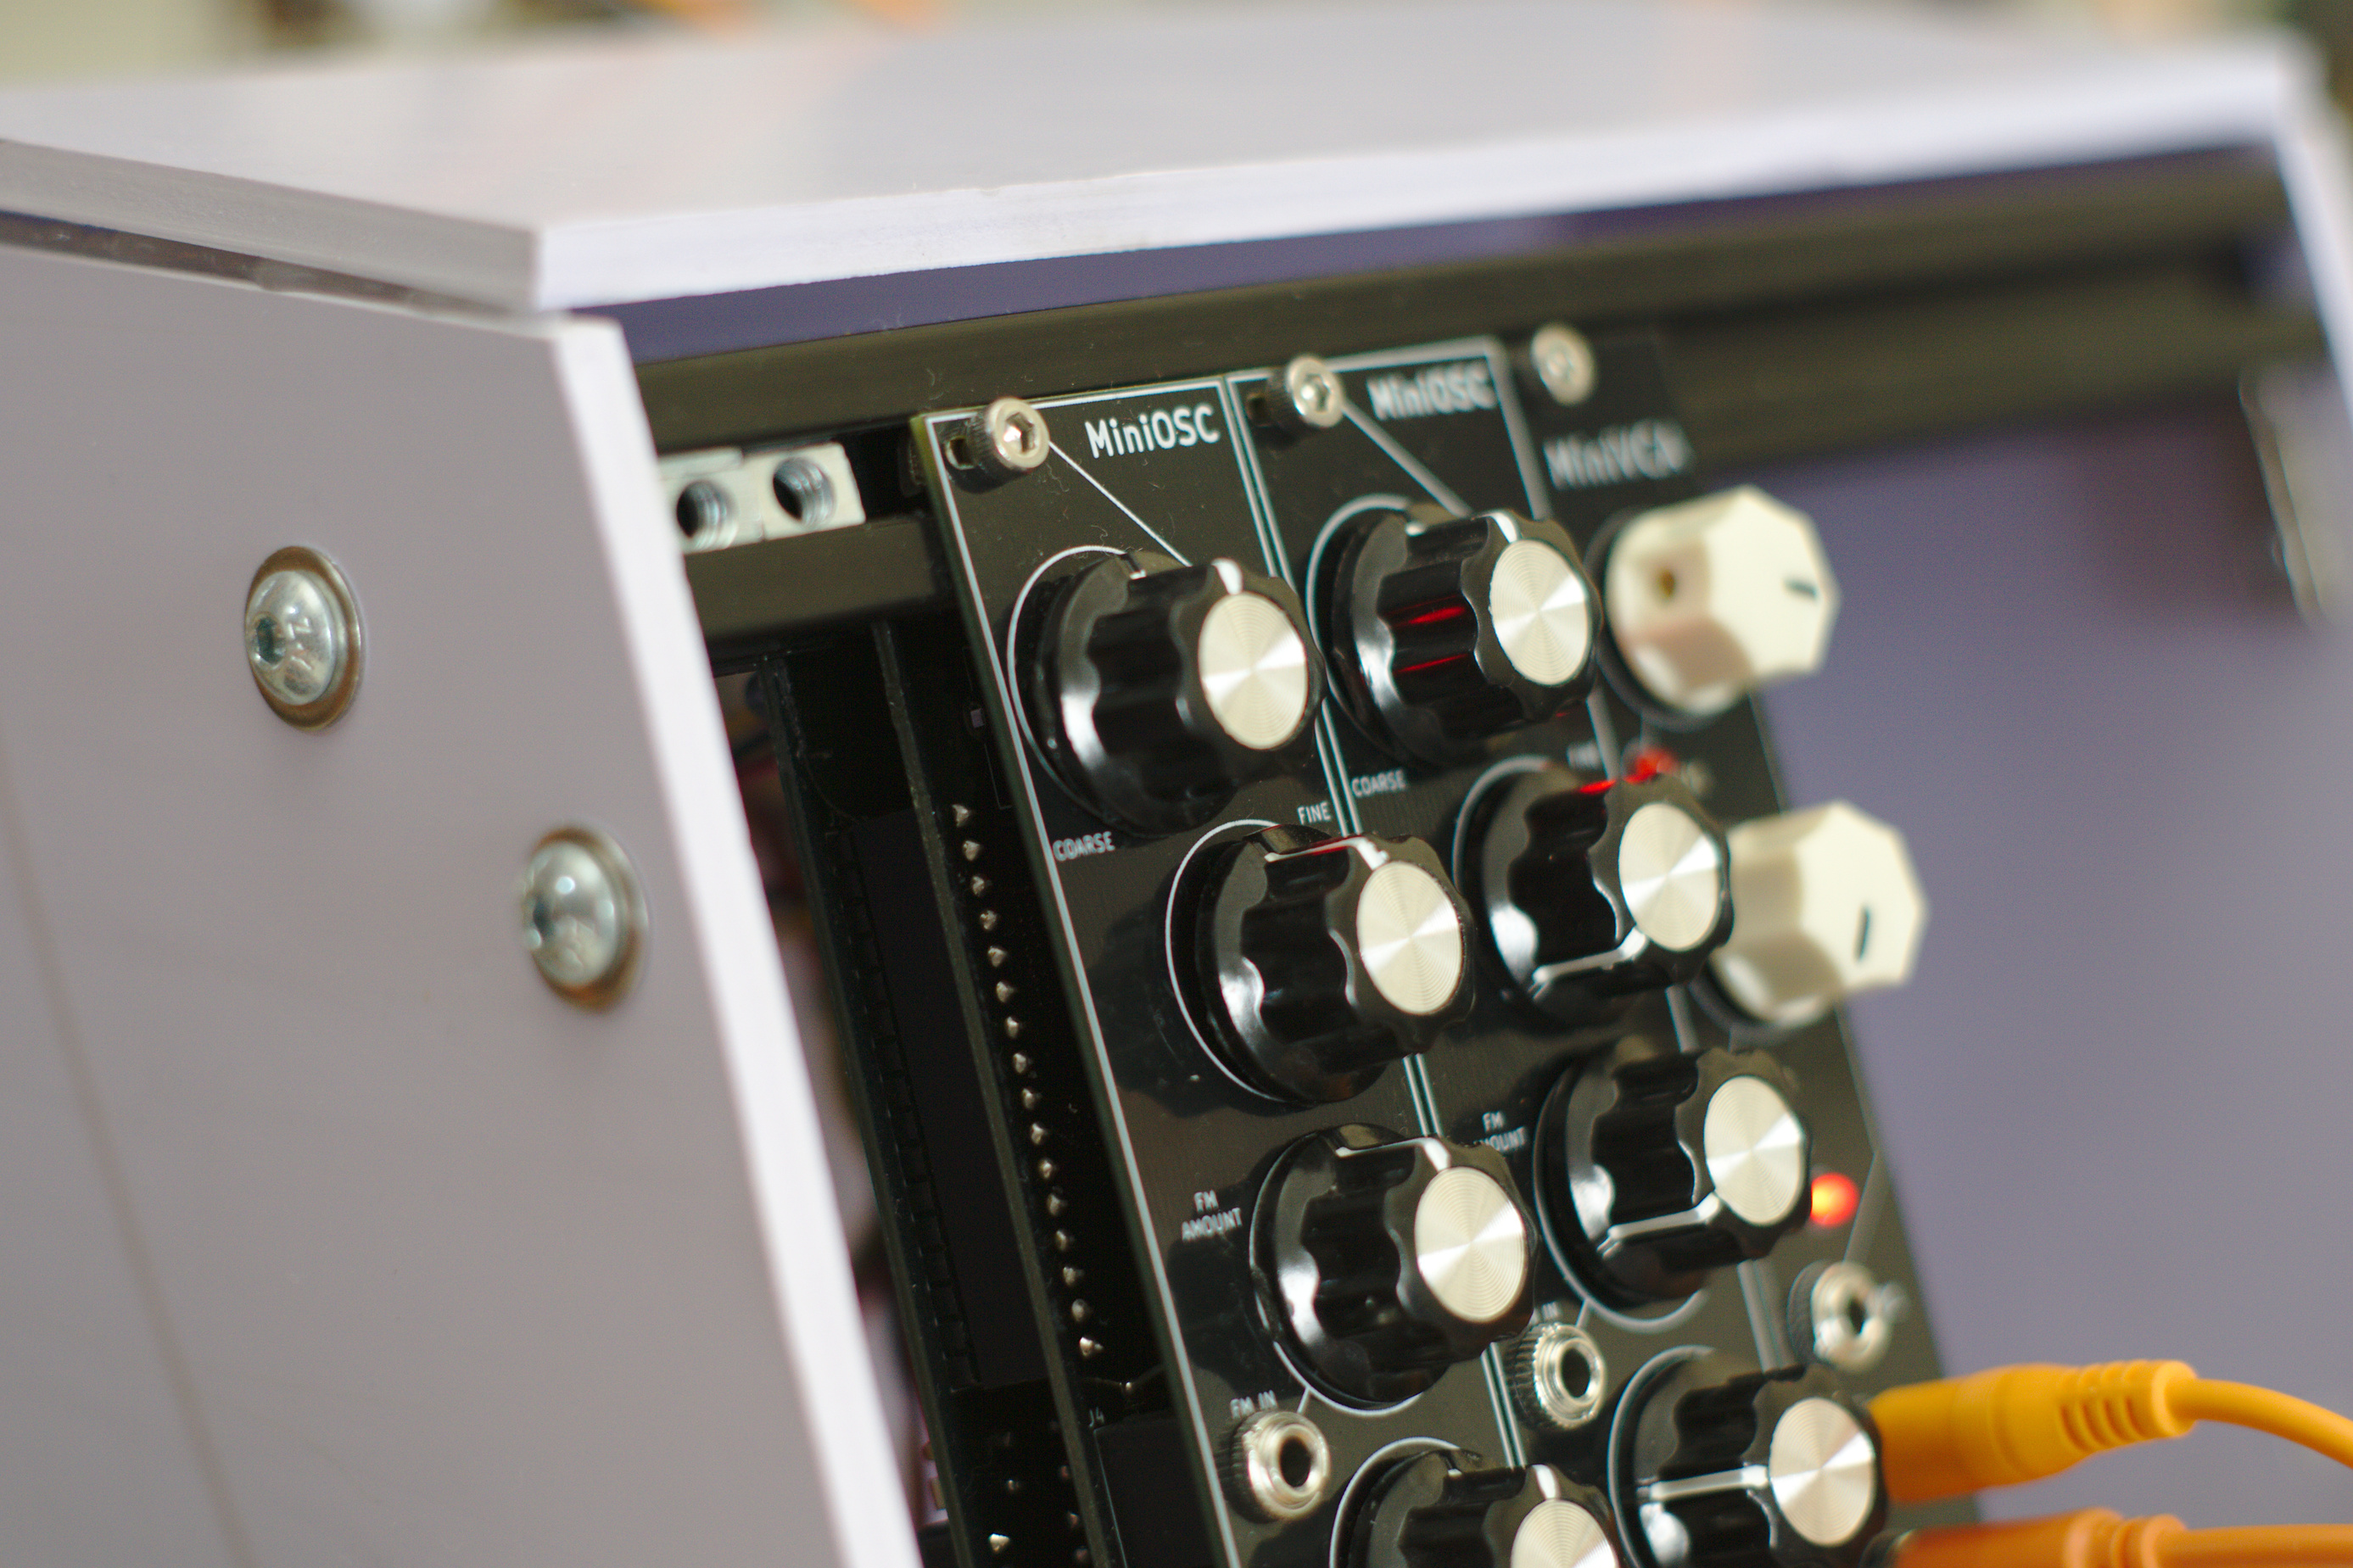
MiniOSC
This is a volt-per octave, dual waveform VCO, based on Moritz Klein’s Shapes VCO.
Tuning it is a bit tricky. I start by playing a major scale (regardless of key) and adjusting the scale pot by ear until it sounds like a major scale. I would then use a tuner to fine tune to the octaves.
Watch me build it on breadboard:
Live jam using an earlier perfboard prototype:
The final build on PCB:
Bill of materials
Here’s a list of what I used in this project. All resistors are 1/4W, electrolytics are 5mm diameter at most, box type caps are 5.00mm pitch.
Capacitors
- 2.2nF x 1
- 1uF x 2
- 100uF x 2
- 100nF x 3
Diodes
- 1N4148 x 2
- 5mm LED x 1
Thermistors
- 10K NTC Thermistors x 4 (594-NTCLE100E3103HT1)
Potentiometers
- B100K x 3 (RV09AF-40-20K-B100K)
- 1K trimmer pot x 1 (PV36X102C01B00 )
Transistors
Resistors
- 100K x 8
- 1M x 2
- 1K5 x 1
- 200K x 1
- 33K x 1
- 20K x 1
- 10K x 3
ICs
- TL074 x 1
- CD40106 x 1
Jacks and headers
- 3.5mm Audio Jack x 4
- 1x16 P2.54 Pin Header x 1
- 1x16 P2.54 Pin Sockets x 1
Mechanical
- 12mm hex standoff x 1
- M3 nut x 1
- 5mm M3 screw x 1
Power connectors (Pick one)
- 1 x 2x8 IDC PCB header for power (for standard Eurorack supplies)
- 1 x 6-pin JST PCB header for power (what I use in my system)
Schematics
Here’s a simplified diagram. KiCAD files included in the Github repo will be slightly different because I needed to split the circuit into two pcbs. Click on the image to zoom.

This project is also on Github
PCB
The PCBs for this build was my first project in collaboration with PCBWay who reached out to me and offered to sponsor the manufacturing of my boards. I showed some highlights of the assembly process in my Youtube video above.
The greber files for PCB printing can be found on my Github . The project is also on PCBWay’s shared projects site where you can have the boards printed directly from them.
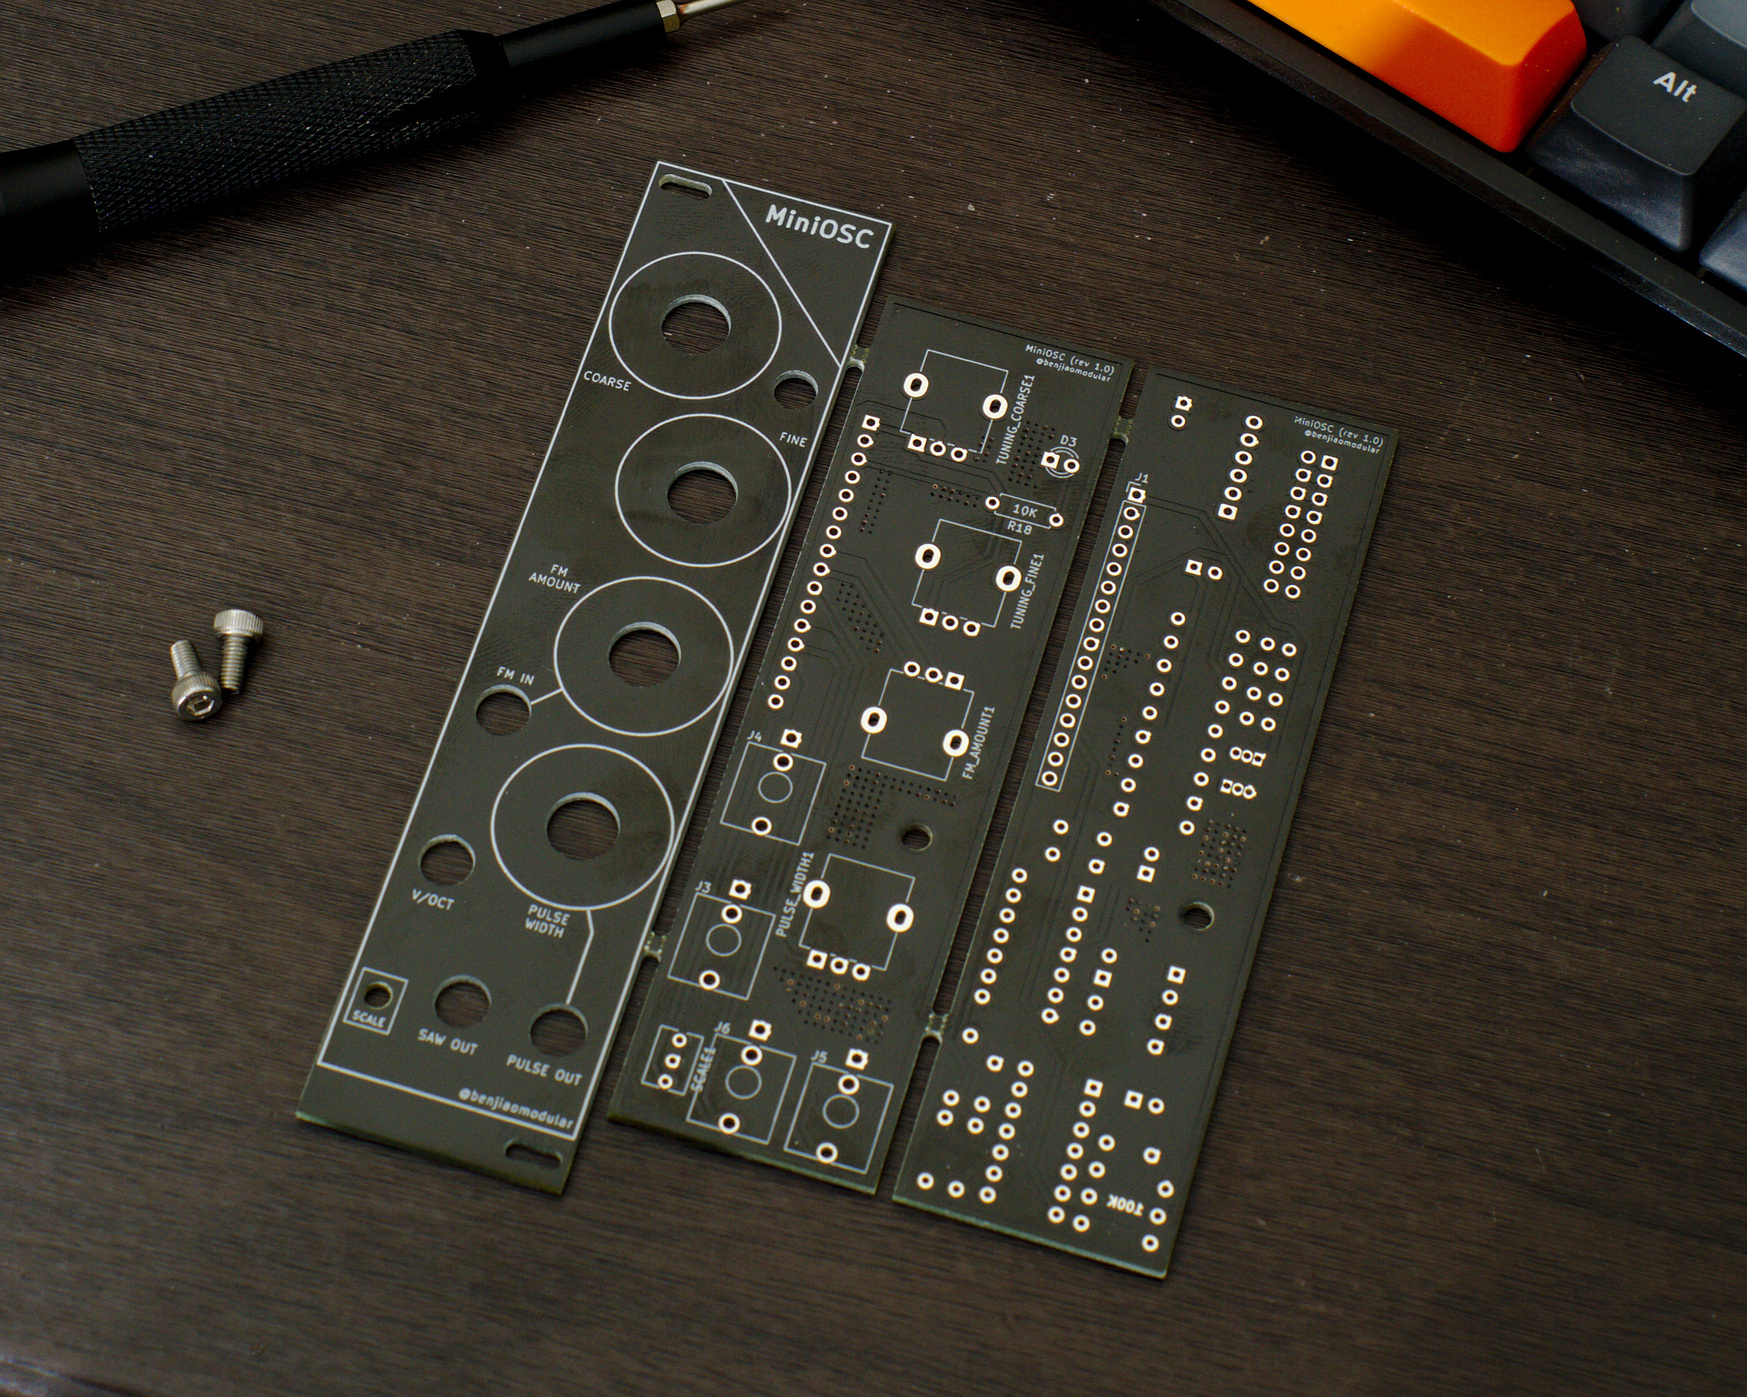
The boards come in three snap-off parts. It was my first time using mousebites to connect boards in a single panel. The residual parts from the mousebites have to be sanded off using a file.
Learn more about mousebites in my recent Tech Tidbits post.
Connections between panels
The front panel and the control board are held together by the 3.5mm audio jacks.
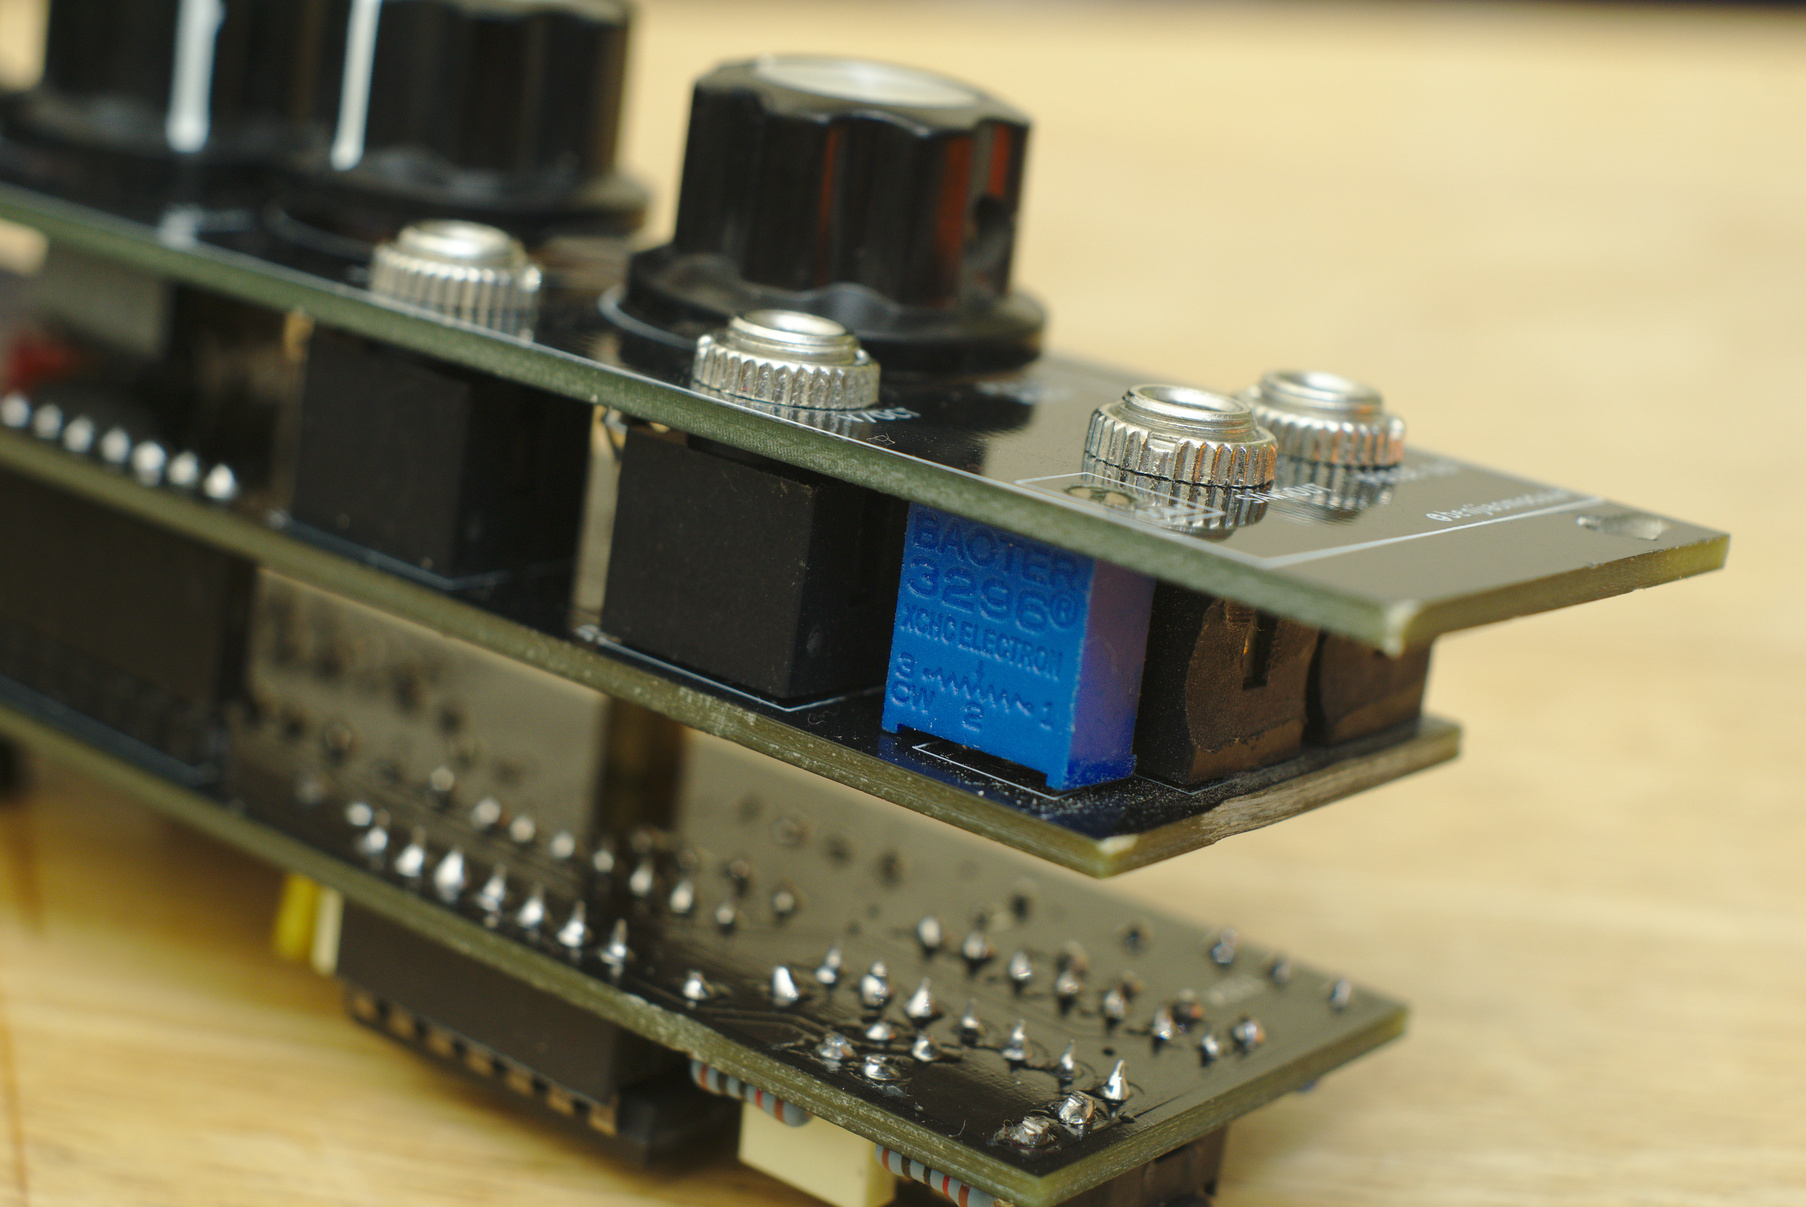
The control board and the main board are coupled at two points: the 12mm M3 brass standoff and the 16-pin headers.
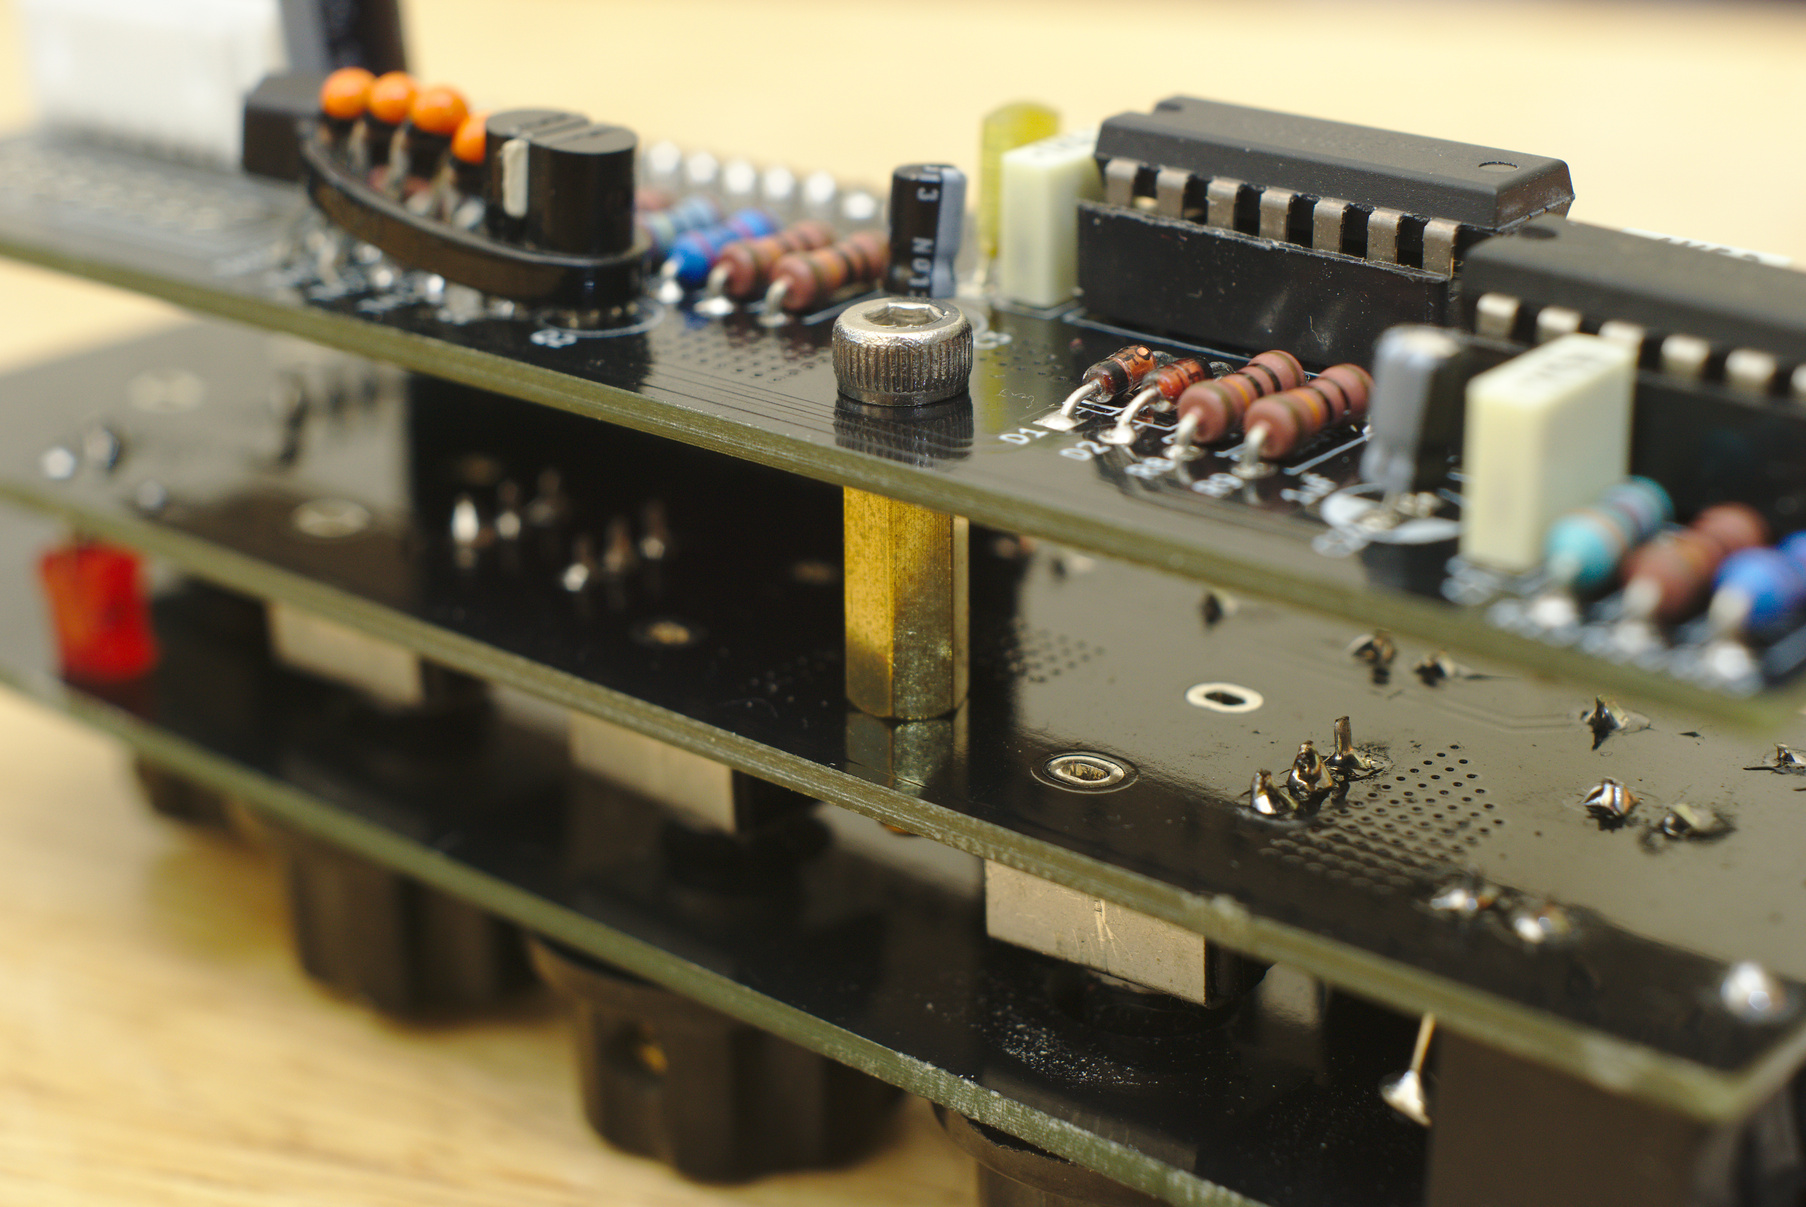
The pins also carry power and audio signals between the two boards.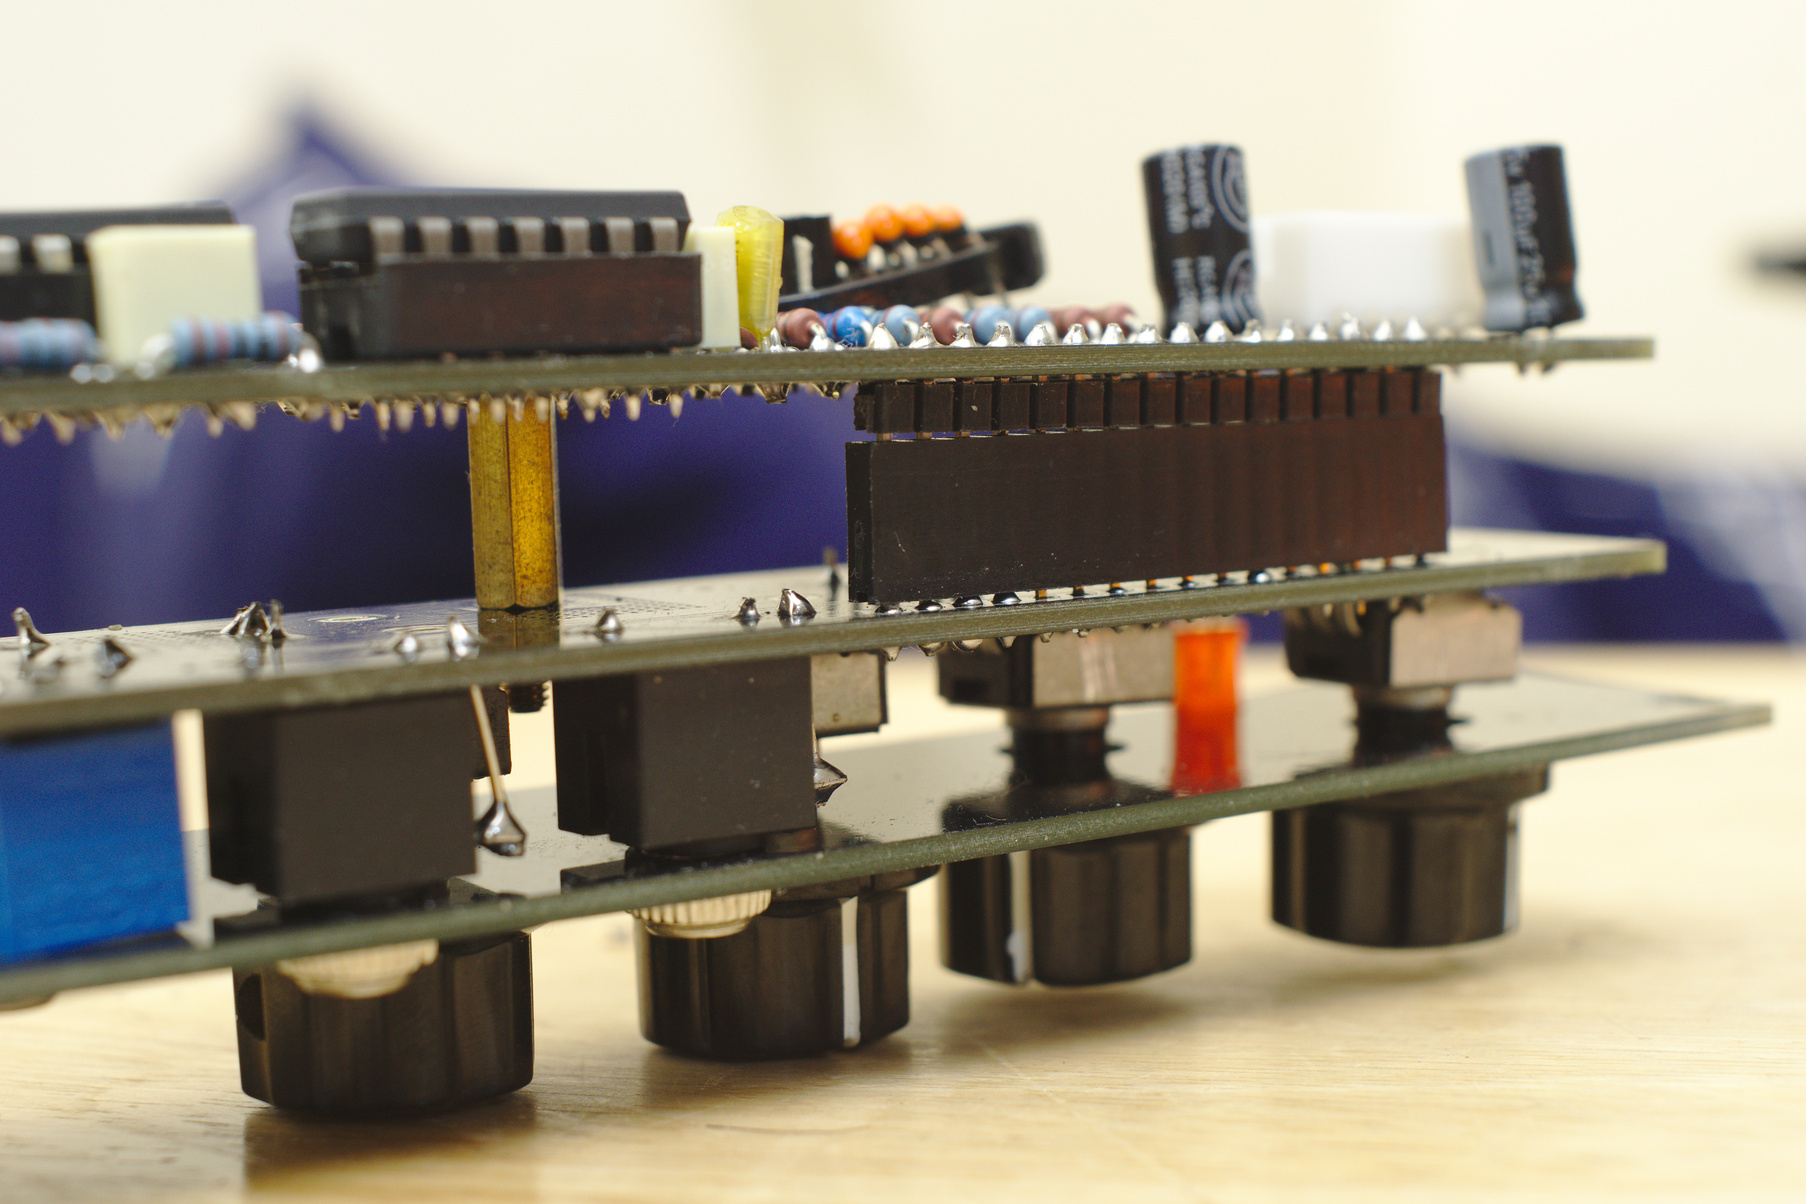
Power options
I provided two possible options for powering these boards:
- The first one is a standard 2x8 IDC connector found in most Eurorack modules. This is the one I’d recommend if you already have a Eurorack system.
- The second one is a 6-pin JST header which I use for all my modules. I find the more compact and easier to buy where I’m from.
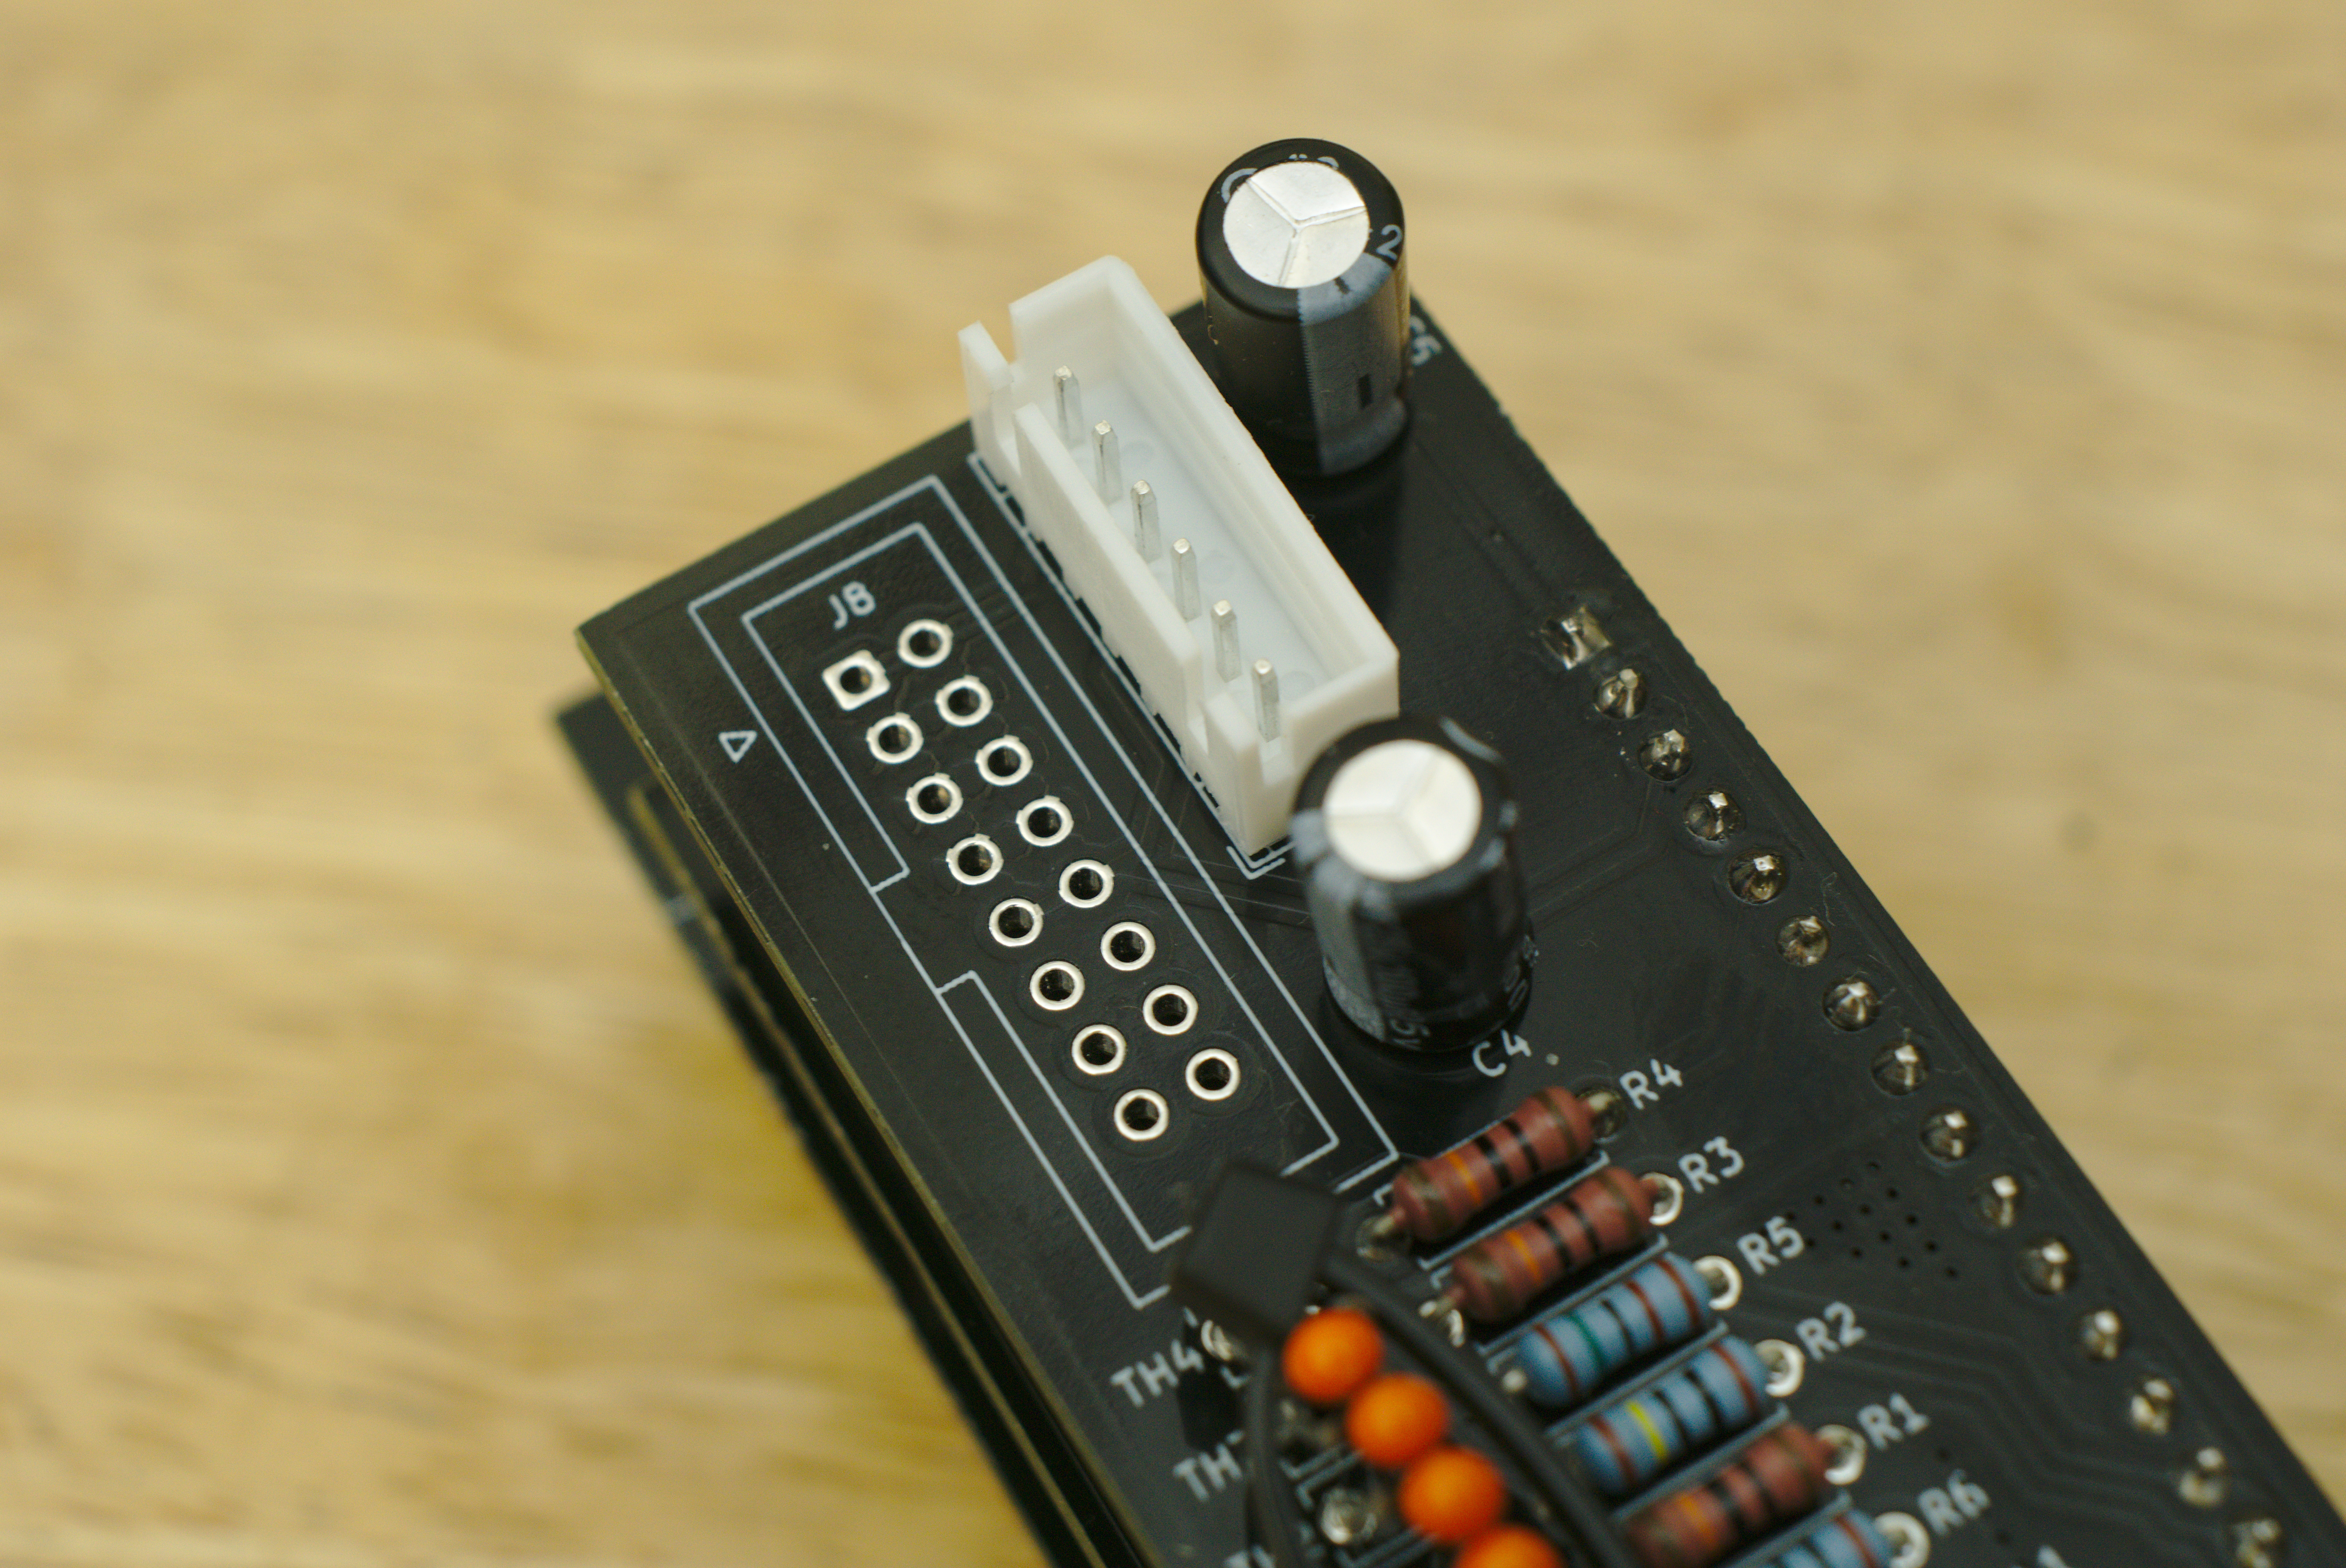
You’ll only have to pick one to use on your board.
Issue with 2mm mousebites
I was informed that JLCPCB sends warnings about printing mousebites that are less than 5mm.
I have been using 2mm mouse bites based on madworm’s Github repo. They also have 5mm alternatives, but I haven’t updated my designs yet. Feel free to update yours if needed.
Otherwise, I have been printing 2mm mouse bites on PCBWay with no issues.
Versions
1.2. UNVERIFIED. Split module into separate boards.
- Removed mousebites
- Export files into multiple sets of Gerber files
Make sure to download and print all three zip files:
1.1. Minor corrections
- Issue with mounting holes was fixed.
- Label sizes increased a bit.
Download rev 1.1 here.
EDIT: @dawle on Github updated version v1.1 to increase spacing of the mousebites. Download his version here: MiniOsc-rev1.1-jlc.zip (Still unverified).
1.0. Initial release.
- Mounting holes were too small for M3 screws, fixed by drilling with an M3 bit.
Download rev 1.0 here
Where to get one
You can download the Gerber files from the links above or you can also order boards directly from PCBWay.
Conclusion
I still have more in store for this build. The tuning pots can be switched to multi-turn pots to improve tuneability and to avoid accidental detuning.
DM me on Instagram @benjiaomodular if you need help. Tag me if you’ve built it. Good luck!